Fine metals projects
- CategoryFor fun
- Project dateFall 2023
- Skills usedTorch, riveting, annealing, hammering, polishing, silver soldering, copper plating, etching, chasing and repoussé
About this
I took a class in fine metals (aka non-ferrous metals)! Here are a few of my class projects.
Arcturus amulet
My first project was an amulet, which I decided to theme after Arcturus, my autonomous boat team. This project taught me riveting, jeweler's sawing, and polishing.
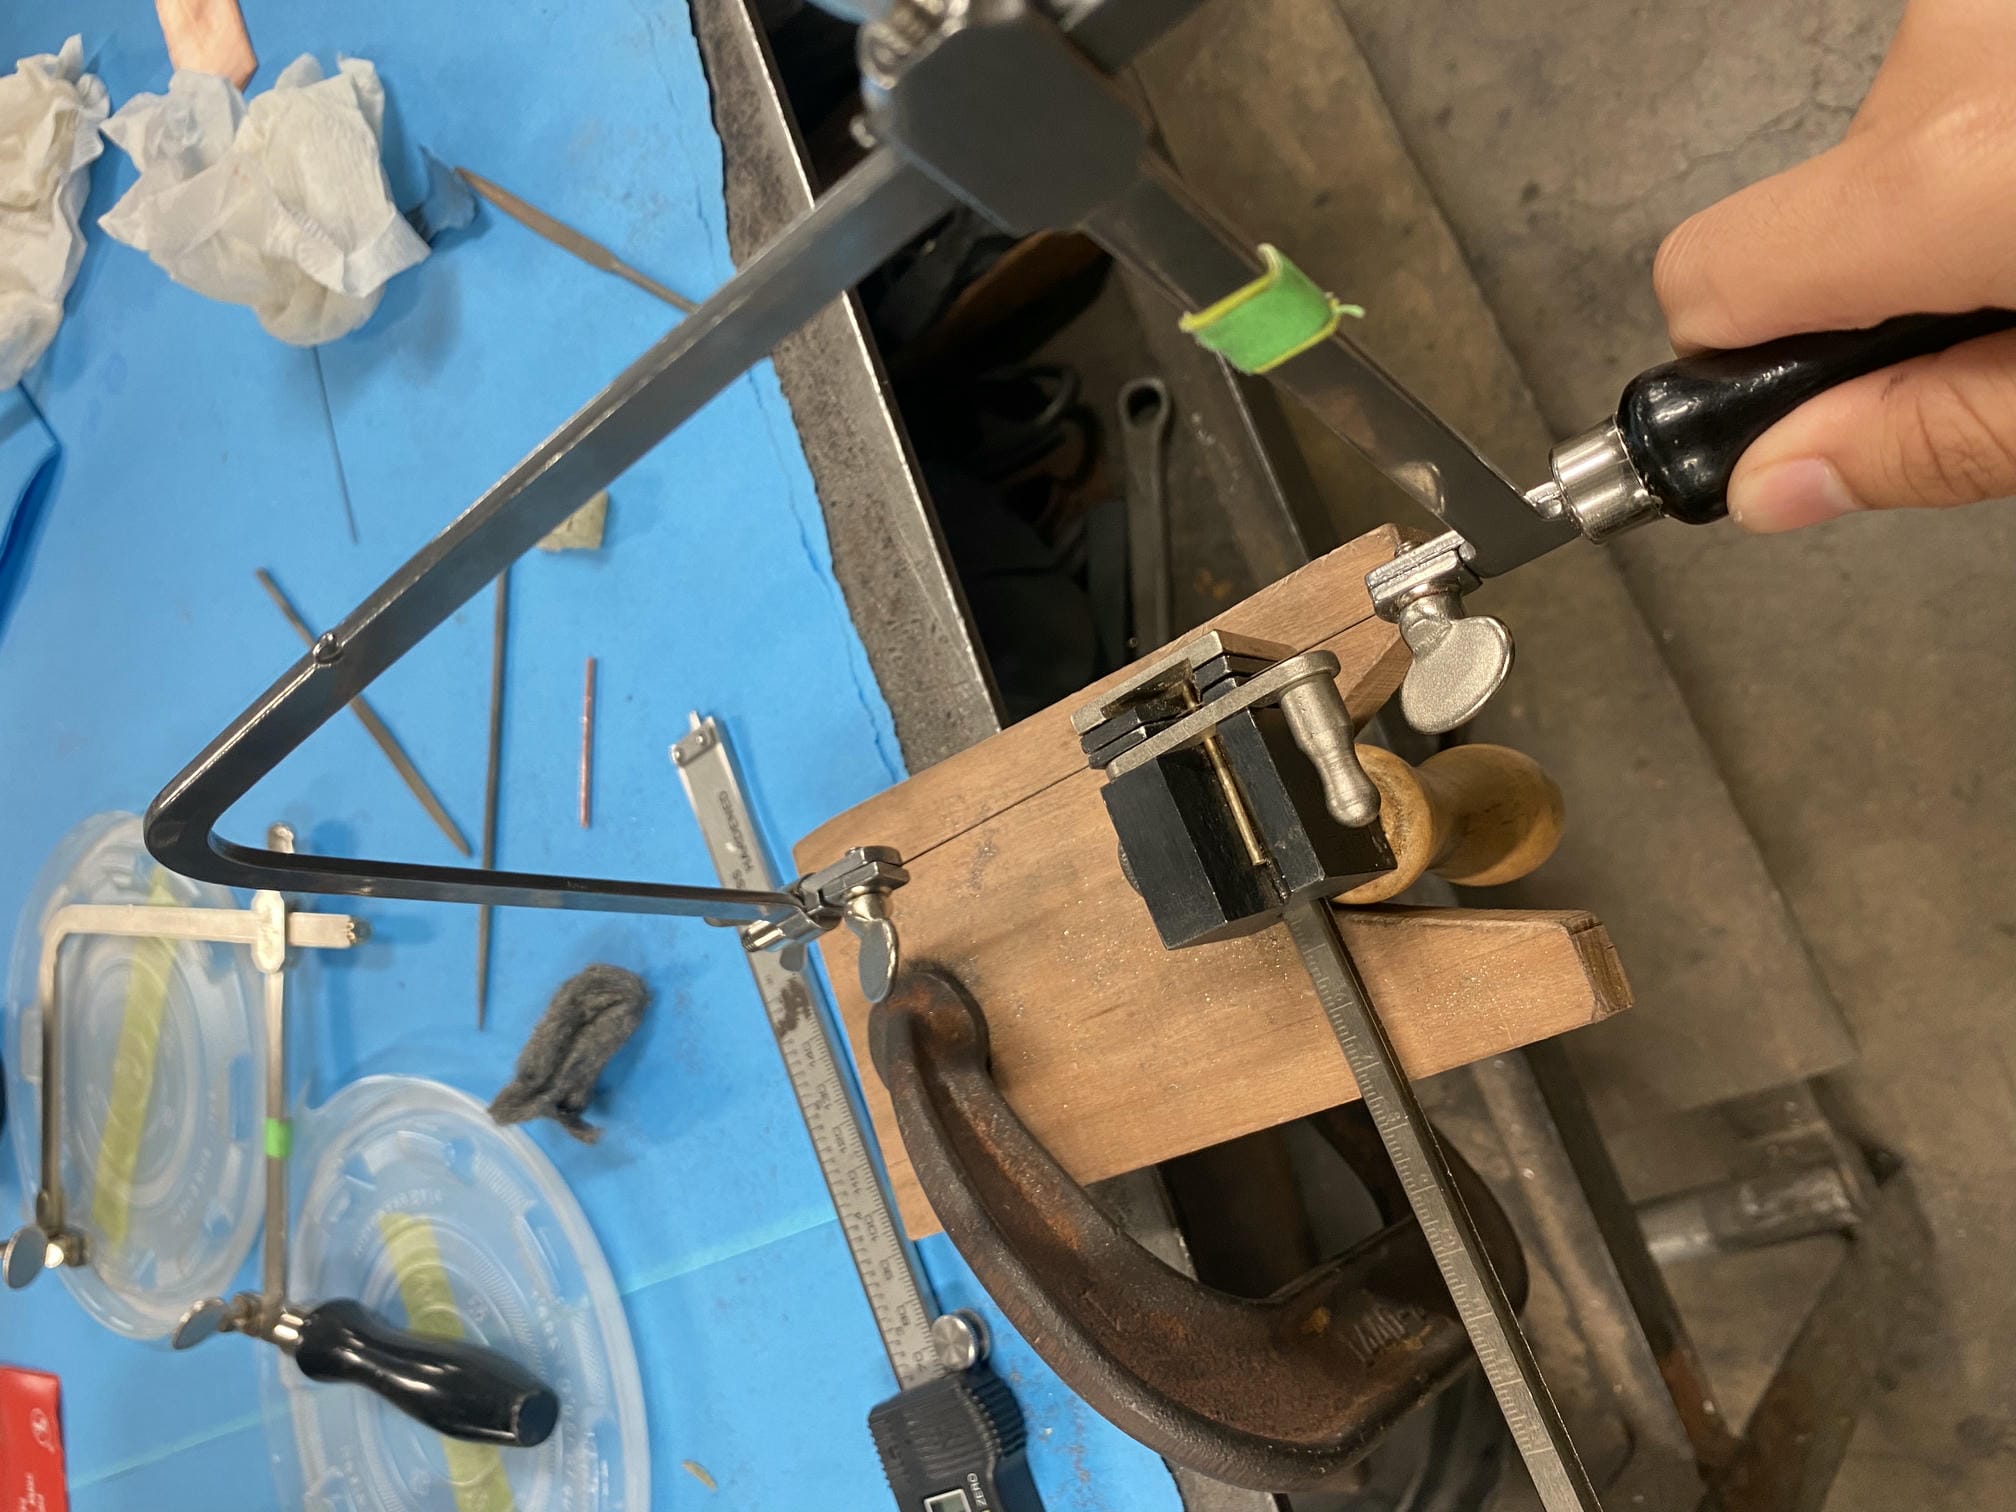
I first began by cutting out the Arcturus A and the circle using a metal laser cutter in copper and aluminum respectively. I cut the stars out of brass by hand using a jeweler's saw. I then stamped in the lettering using a hammer.
To fix the pieces of metal together, I used rivets. I first used a drill press to make holes in each piece. Then I used the tube-cutting jig to cut pieces of wire into tiny cylinders. By threading the wire through holes in both pieces of metal, and then hammering both sides of the wire, I was able to create a rivet to hold the metal in place. In order to make the colors match, I made sure to use the copper wire on the A and the brass wire on the stars. Because the stars only had a single rivet, I made sure to hammer them down tight so the stars wouldn't spin in place.
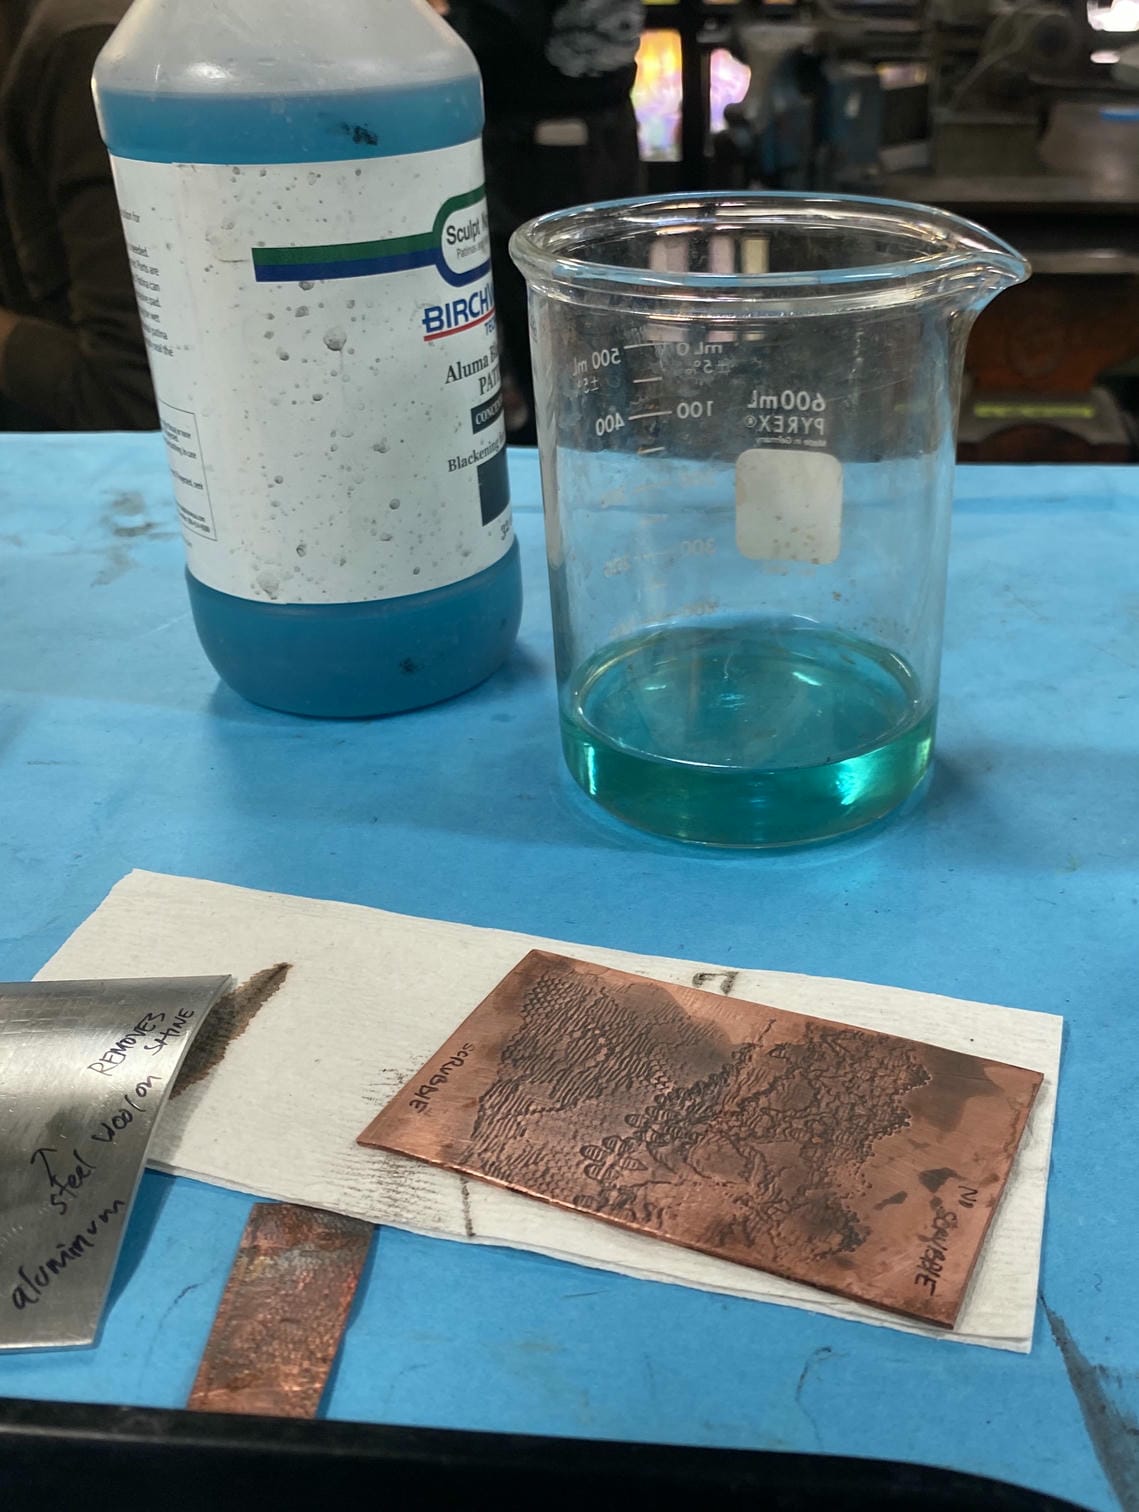
Finally, I used patina to chemically darken the lettering. I sanded the faces so they were shiny, then used a dremel and polishing disk to polish the surface. After this project, I learned it was much better to polish everything before riveting because it's more accessible, so I made sure to be mindful of my order of operations in the future.
Copper rings
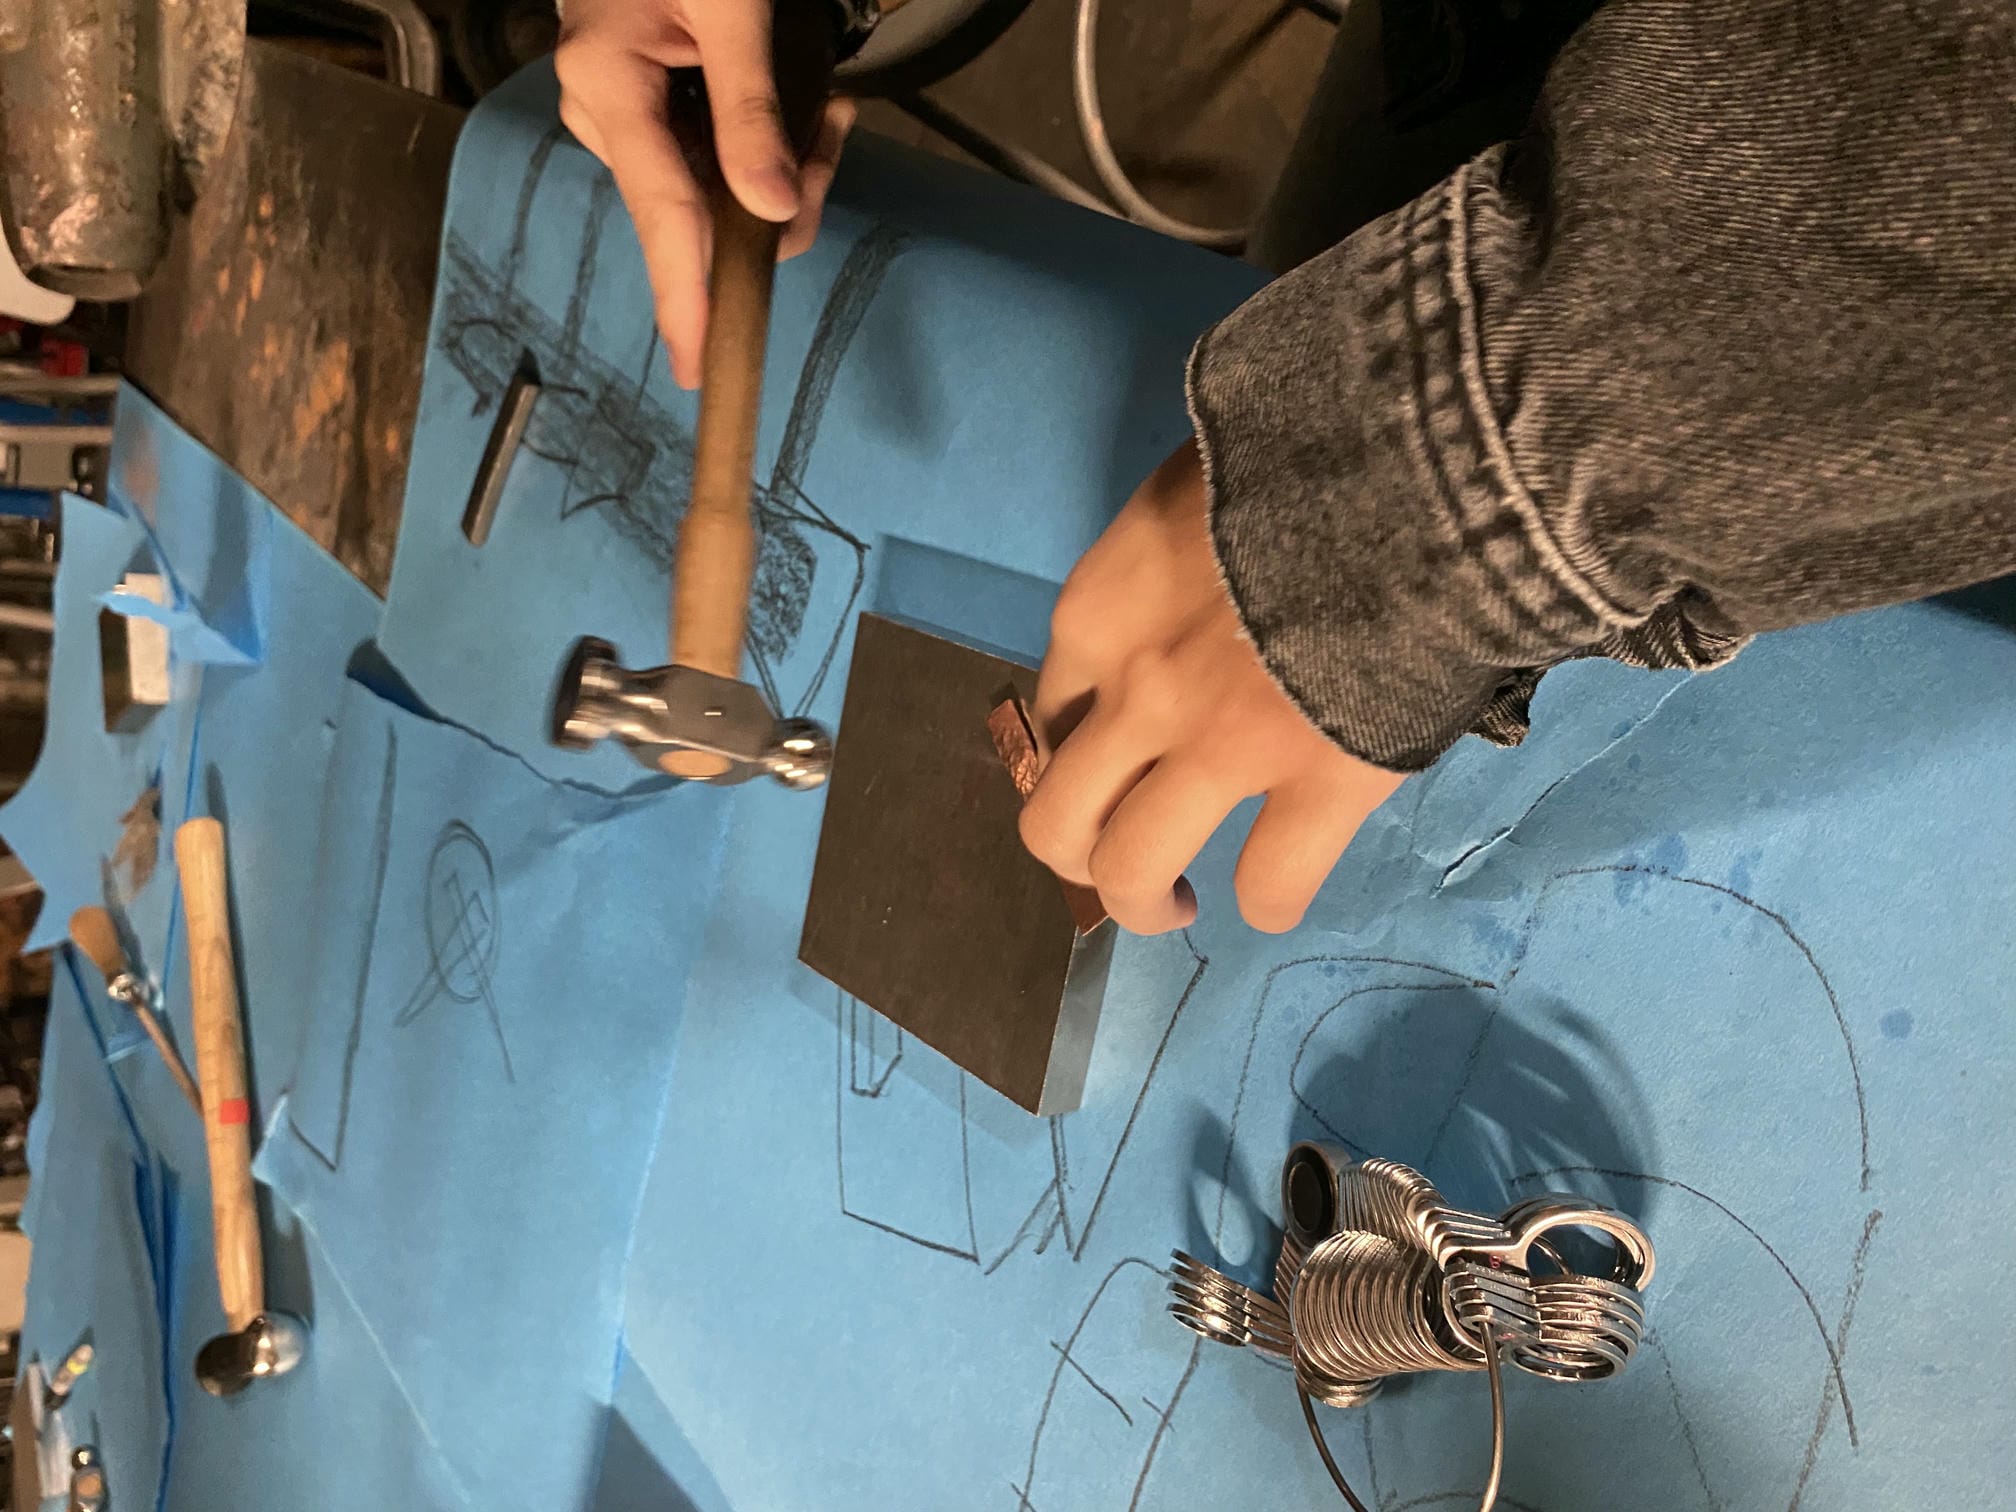
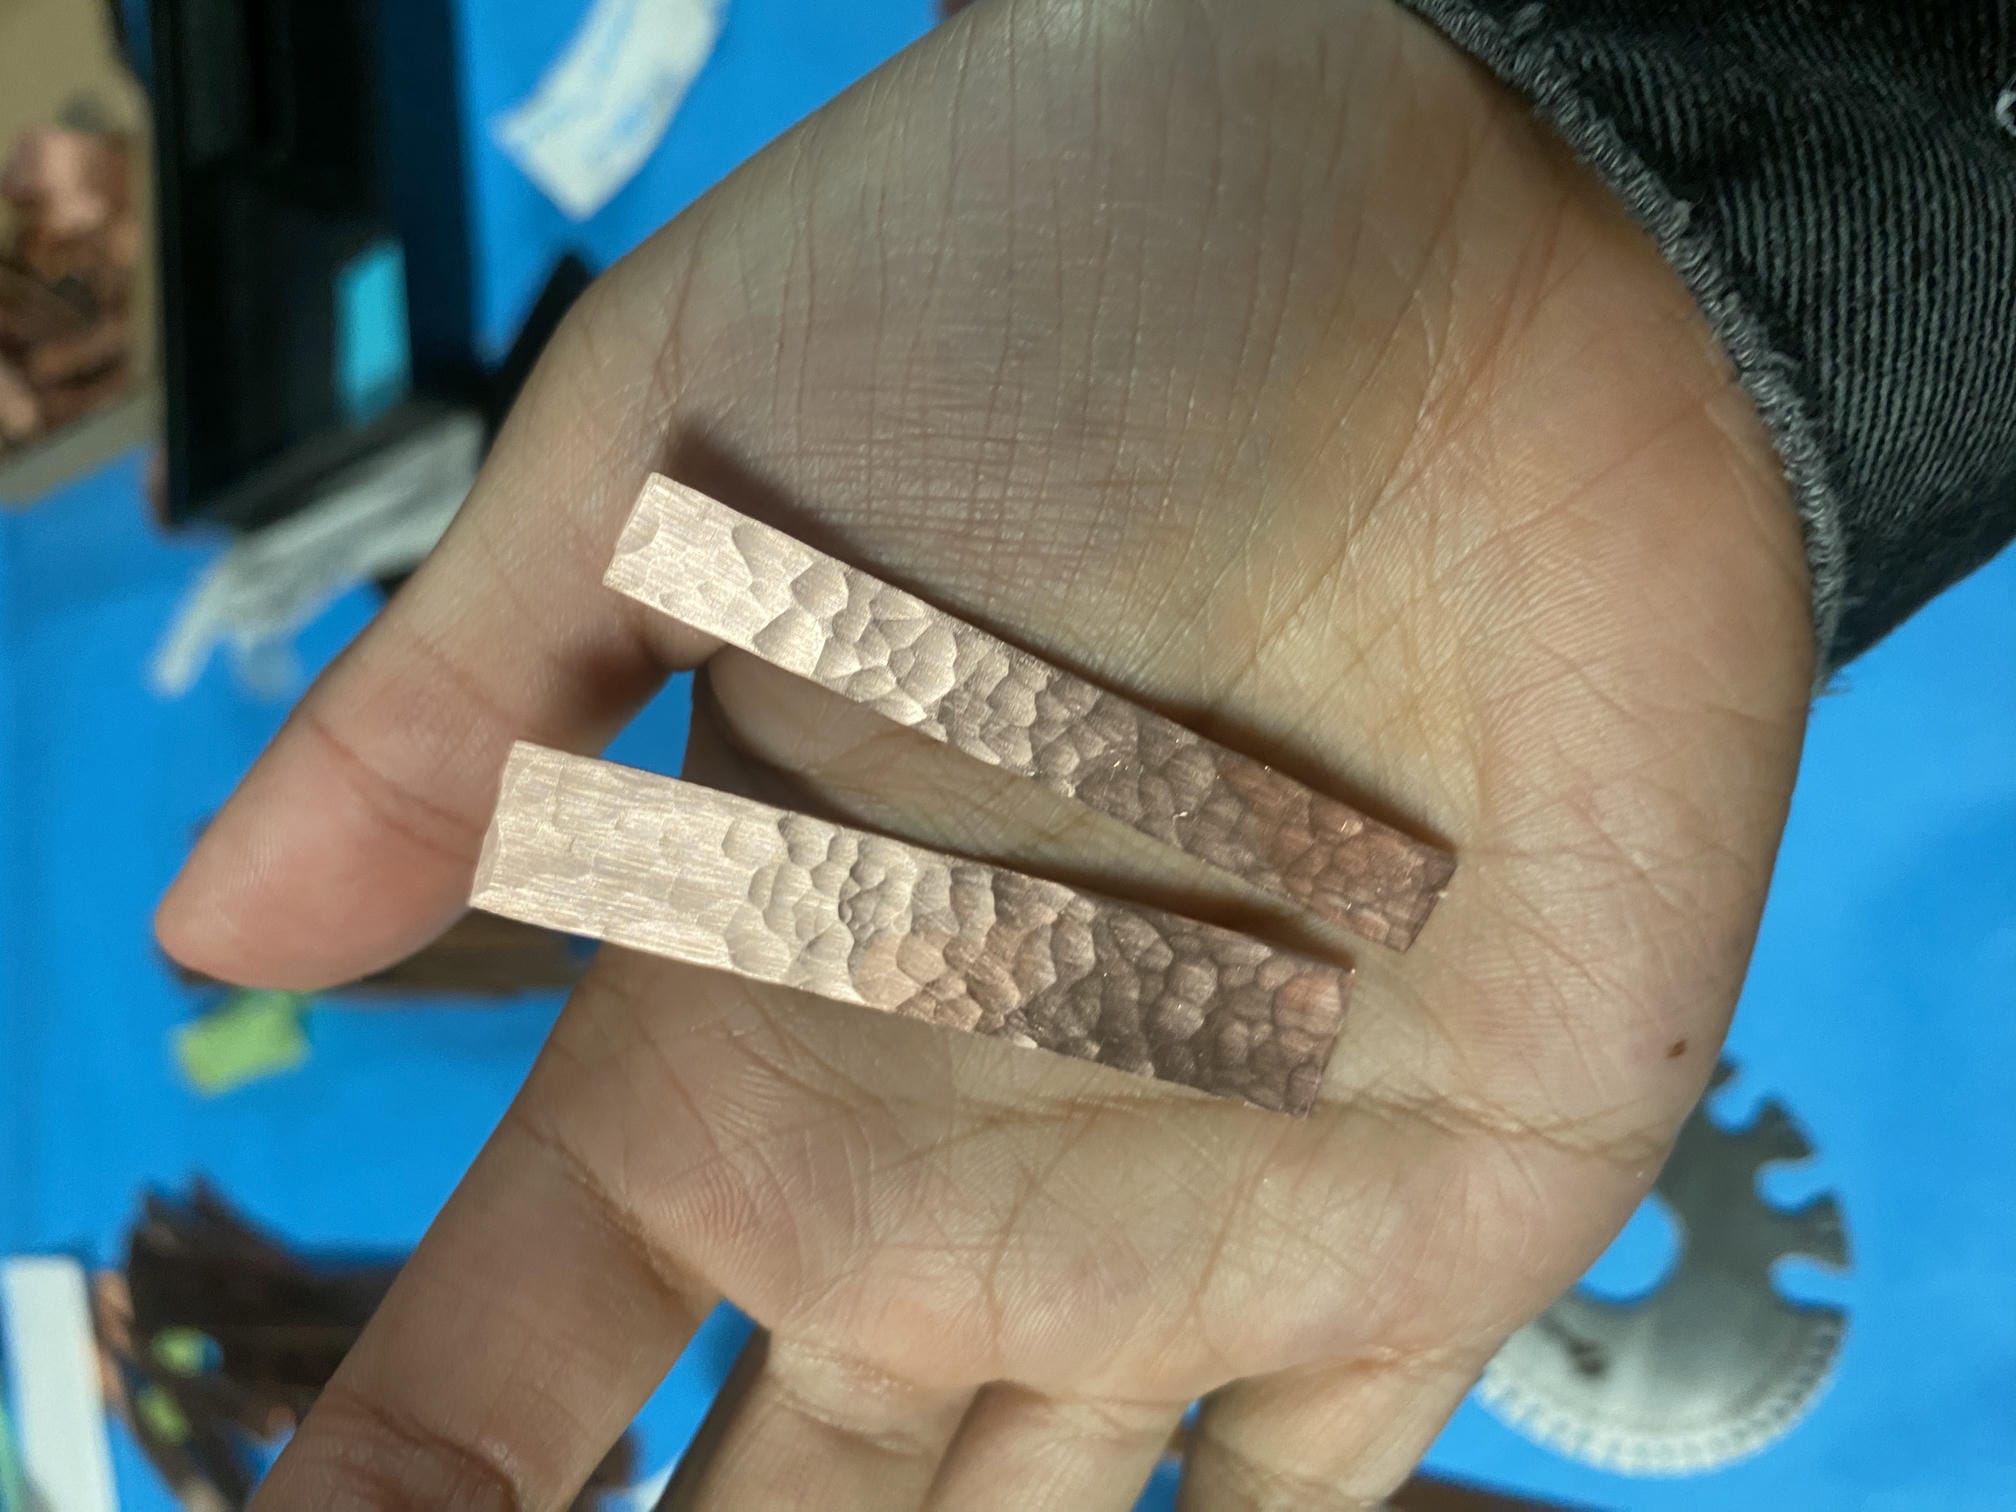
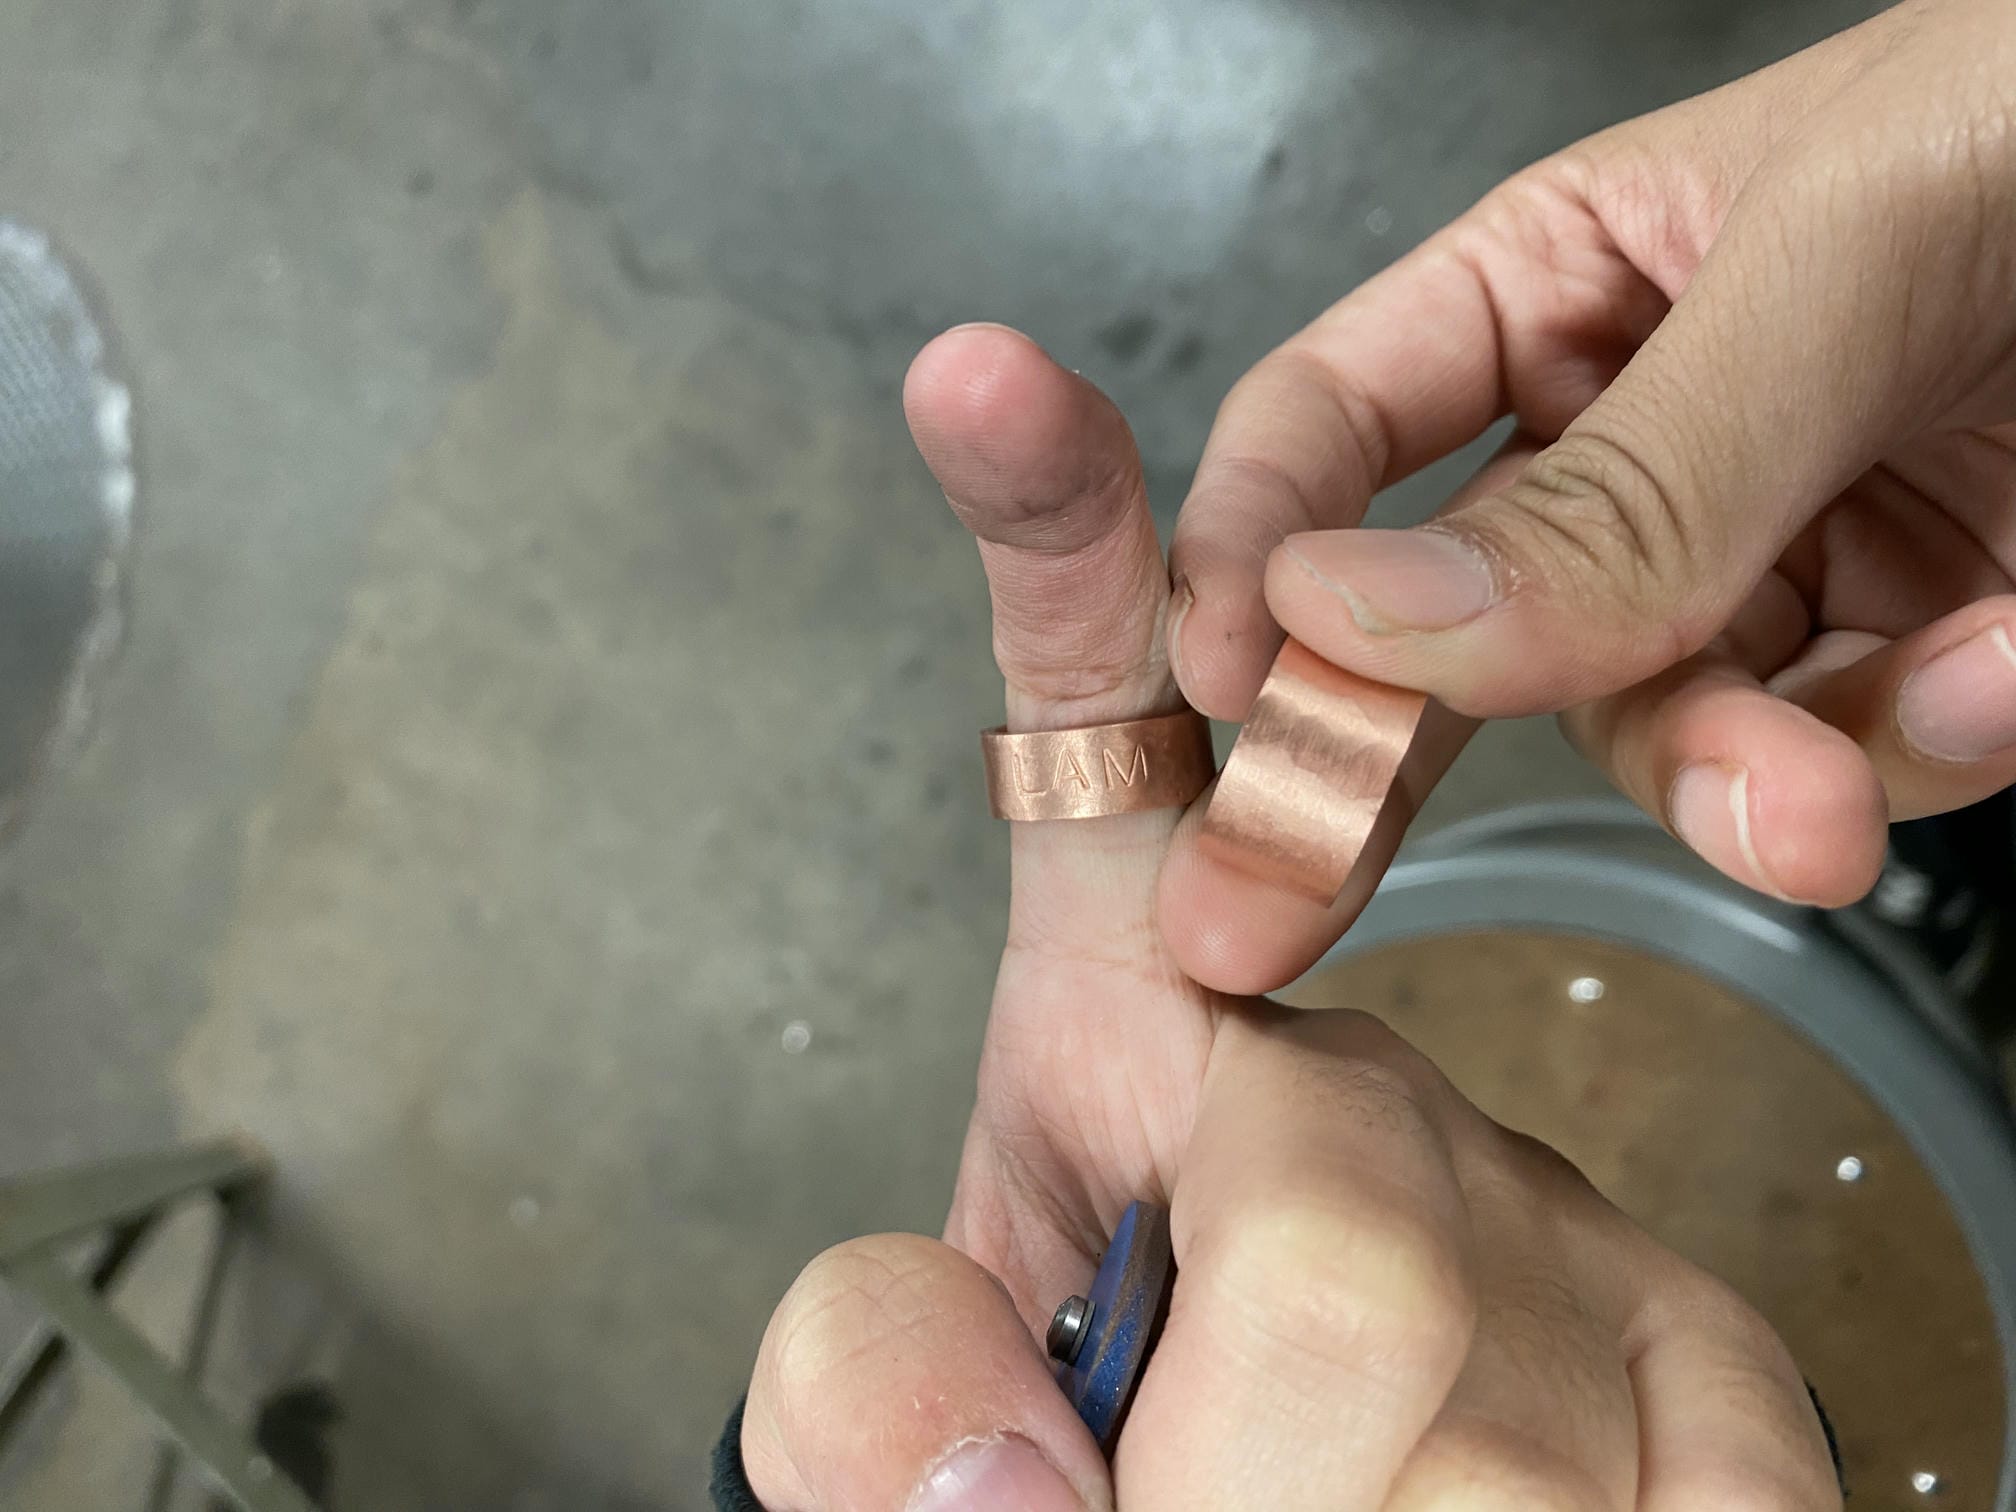
My next project was a small set of copper rings, which taught me silver soldering. First, I cut out strips of copper to my ring size and hammer-finished it to give it texture.
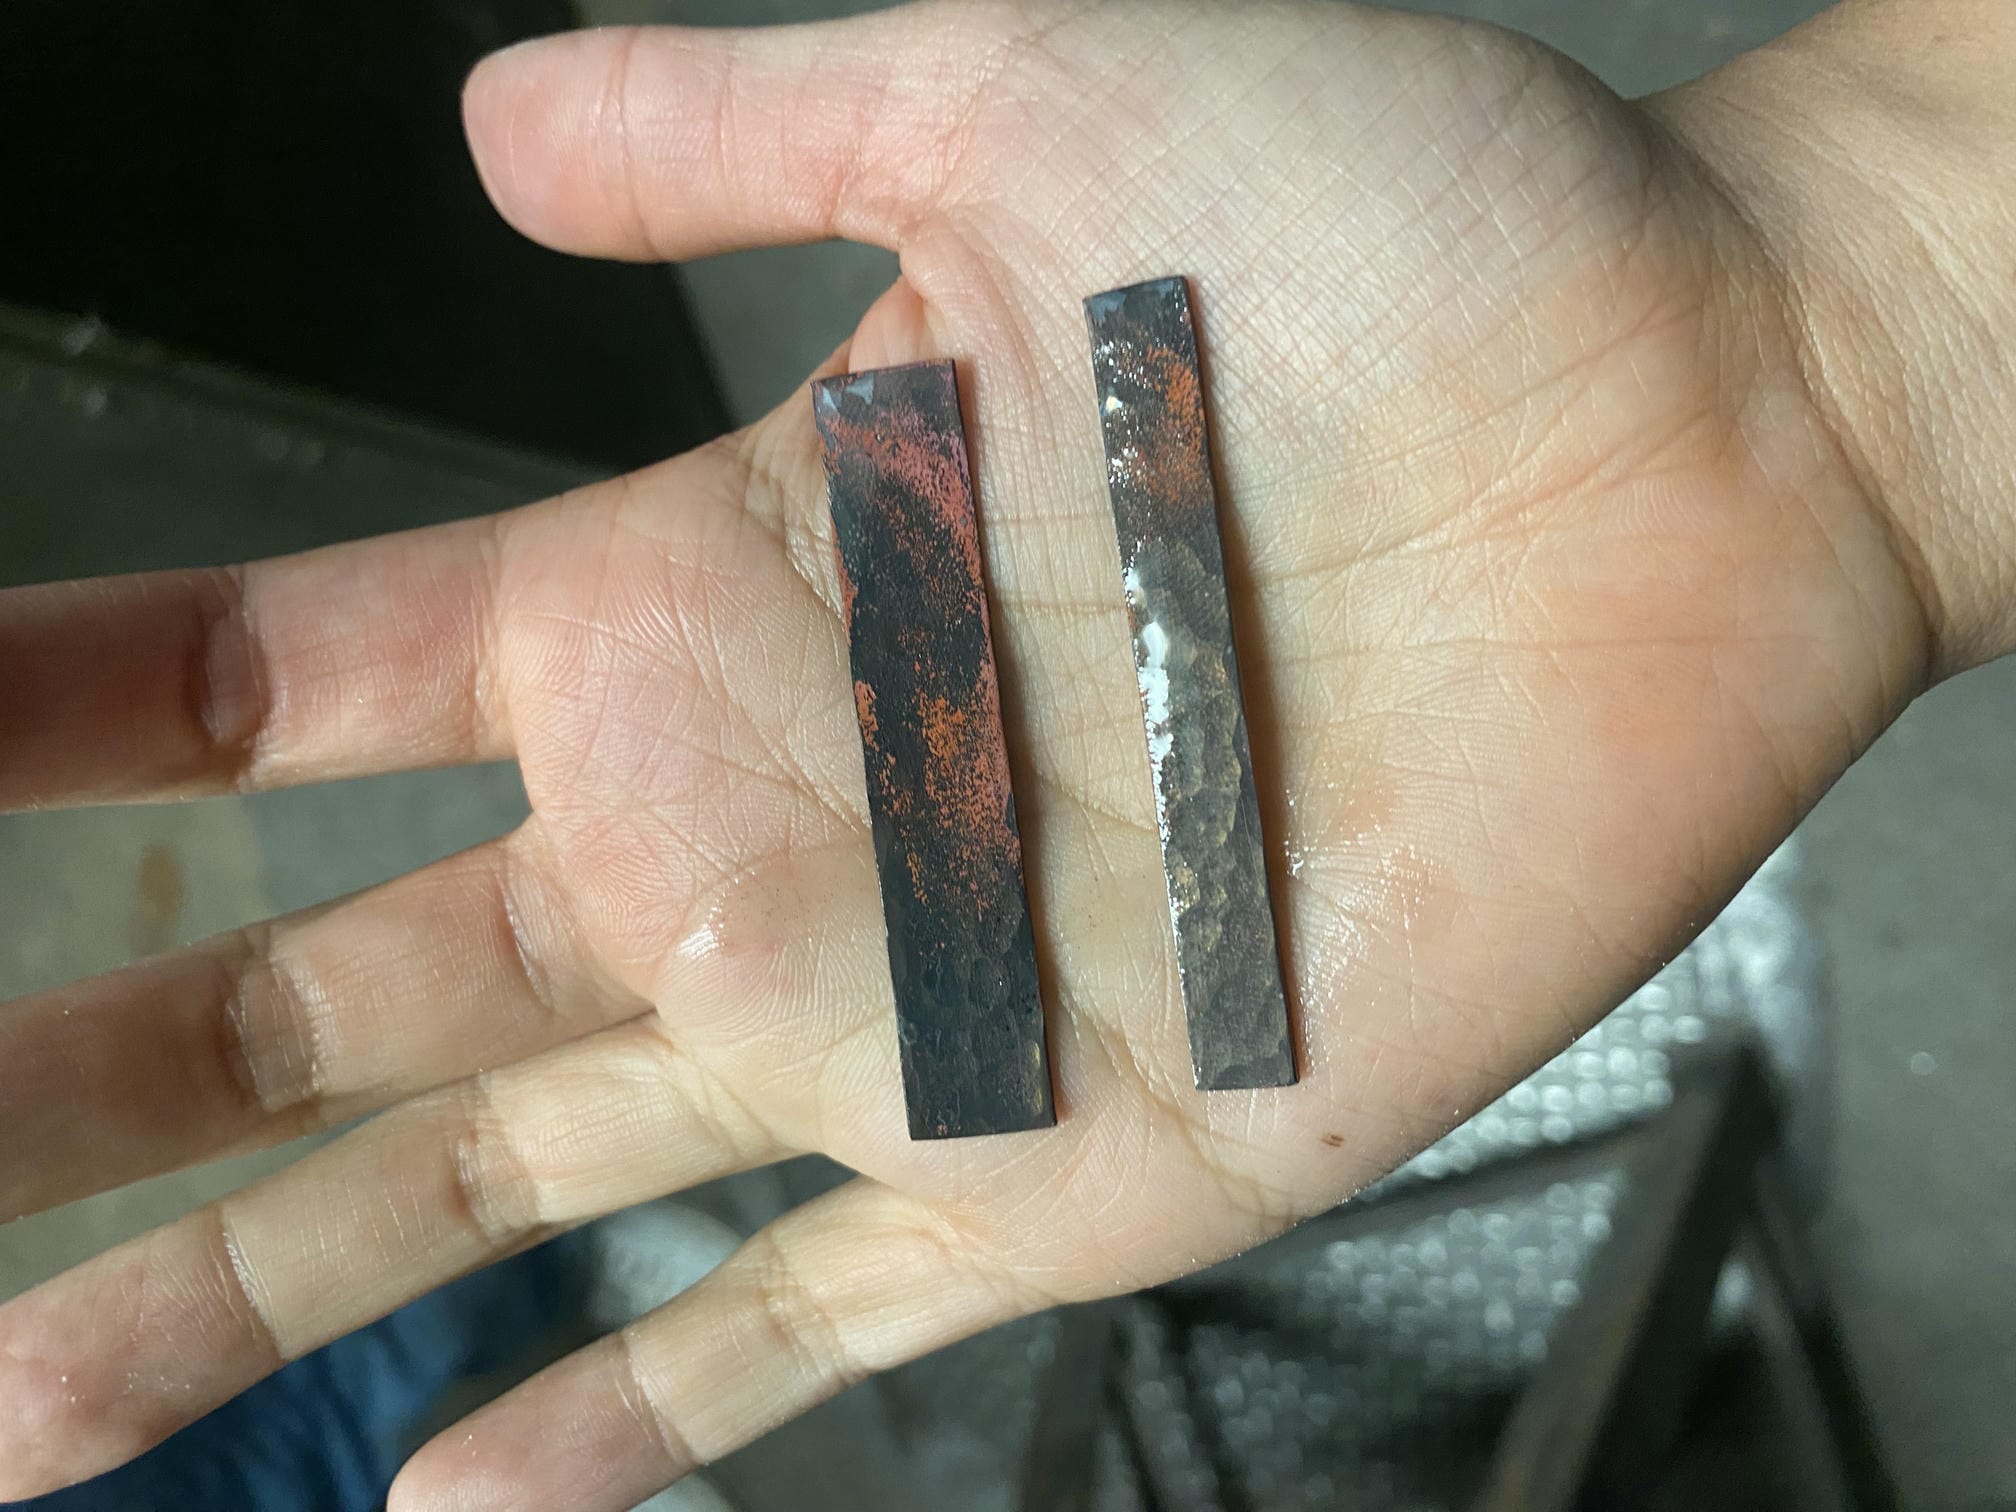
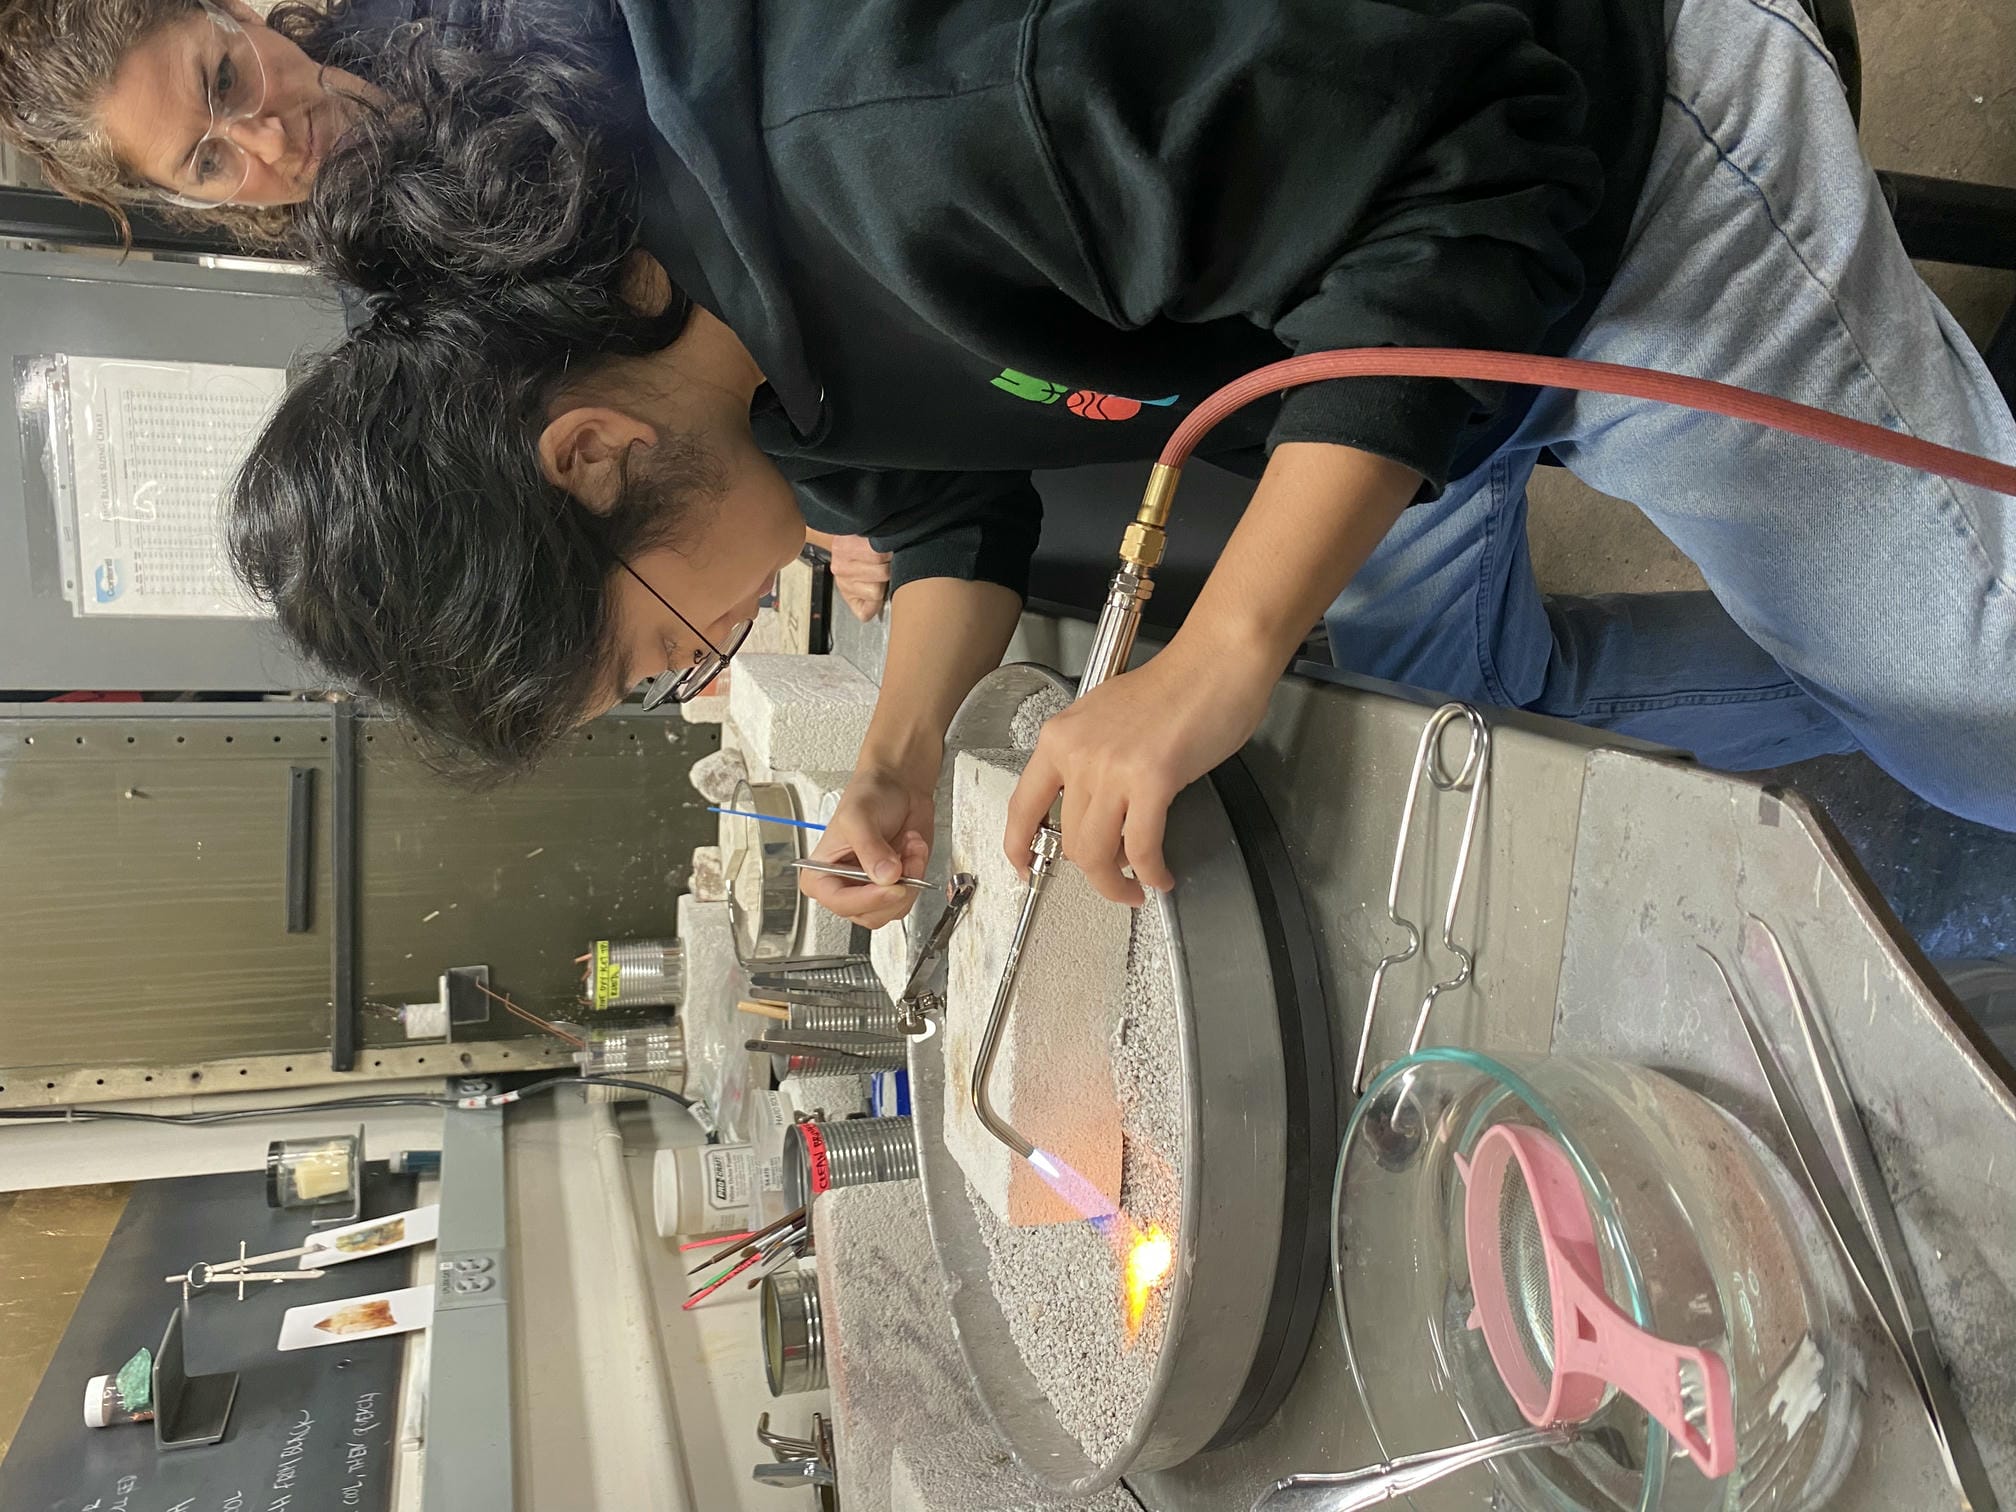
The biggest thing that this project taught me was how to use the acetylene air torch. I first had to anneal my copper to get it malleable enough to bend into a ring. For copper, this involves heating it up with a torch until it reaches a dull red, then quenching it in water, but it's different for every metal.
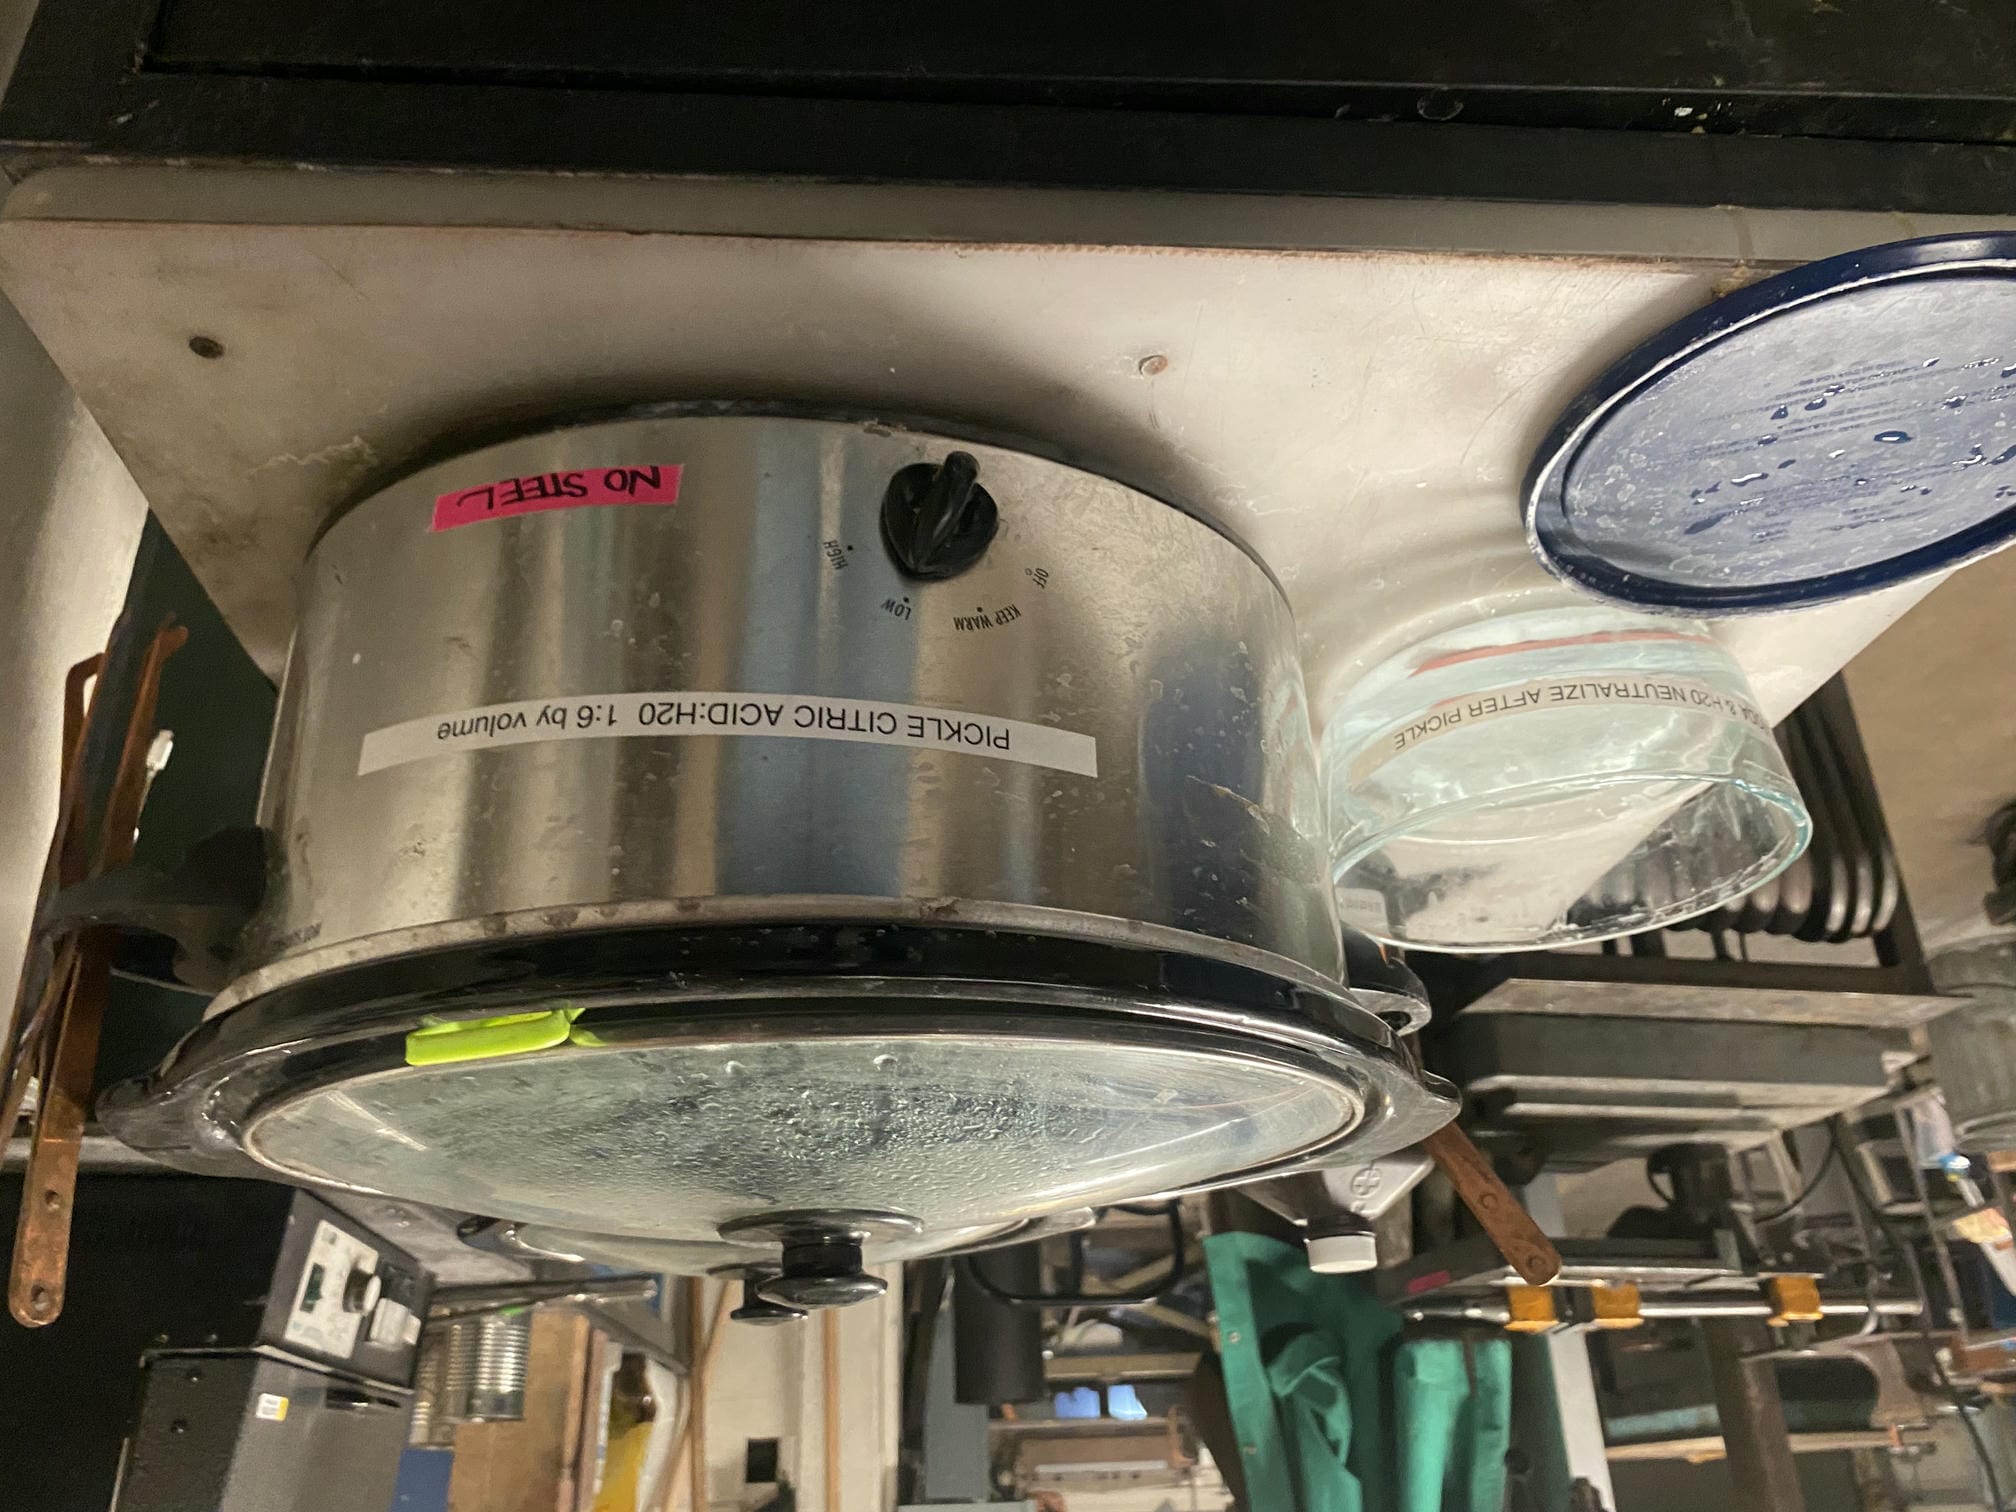
From there, I needed to remove the oxidation that formed during torching, so I put it in a bath of citric acid and then neutralized it with a baking soda solution. After scrubbing with some dish soap and steel wool, it was all shiny again. I then needed to prepare the piece for soldering. I first bent the copper into an oval-ish shape, pushing the edges I wanted to solder together so they were touching. I then cleaned and sanded flat the edges I was going to solder together. This is because silver solder doesn't really bridge gaps, only fuse edges together, so super small gaps in the joint would prevent a proper seam from forming. Even little things like fingerprints can prevent the silver from flowing onto the area properly, so they must be cleaned off.
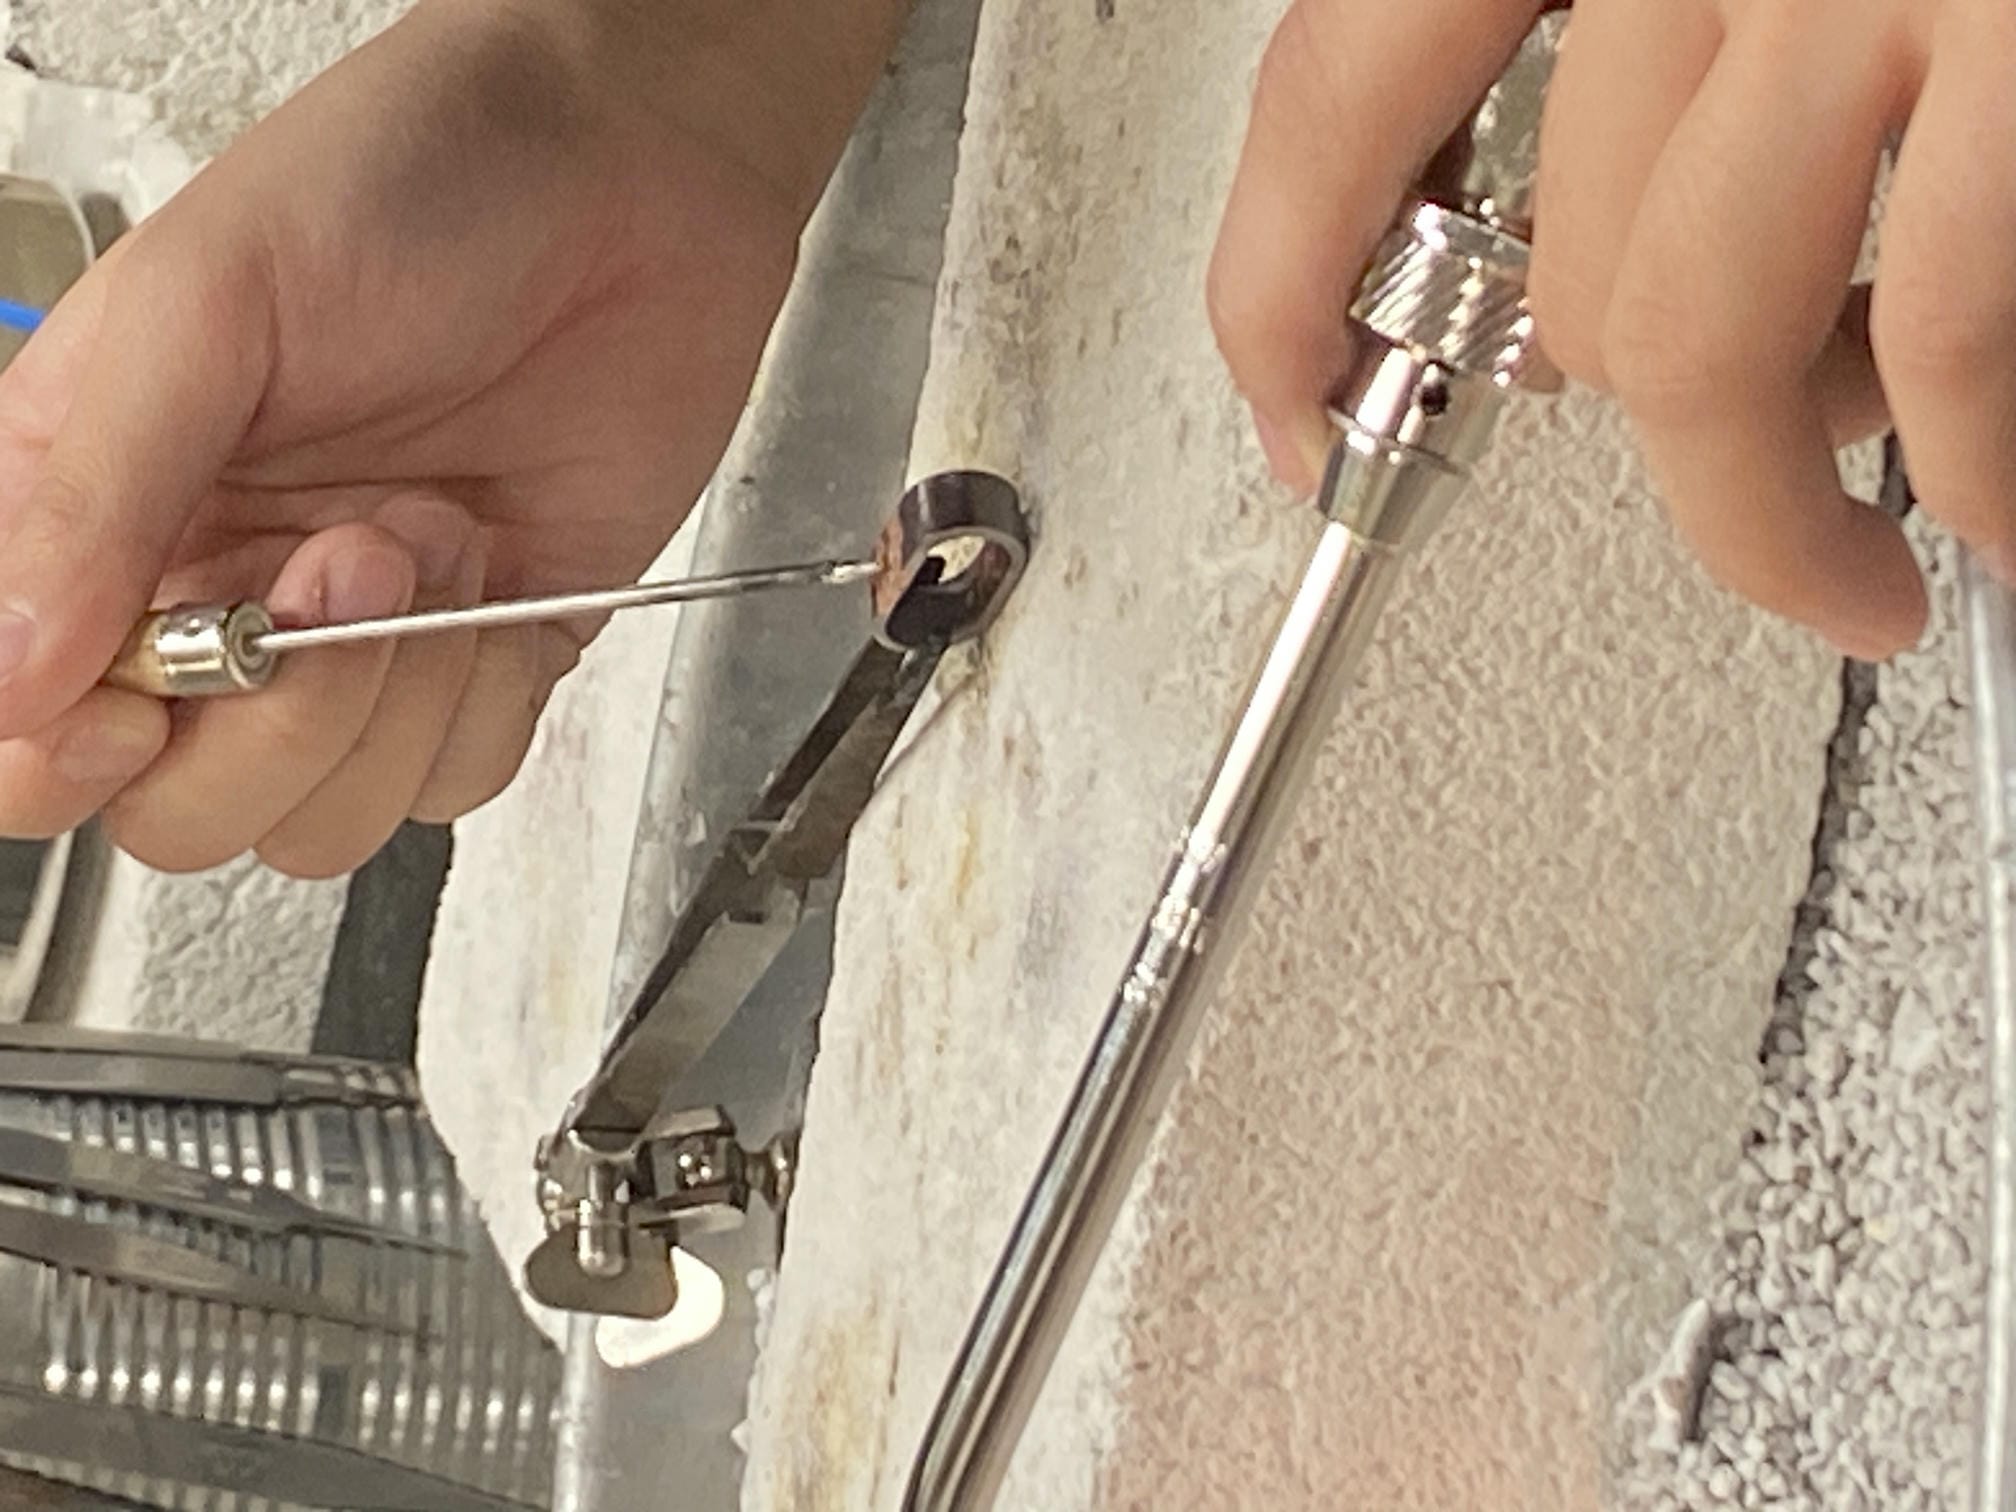
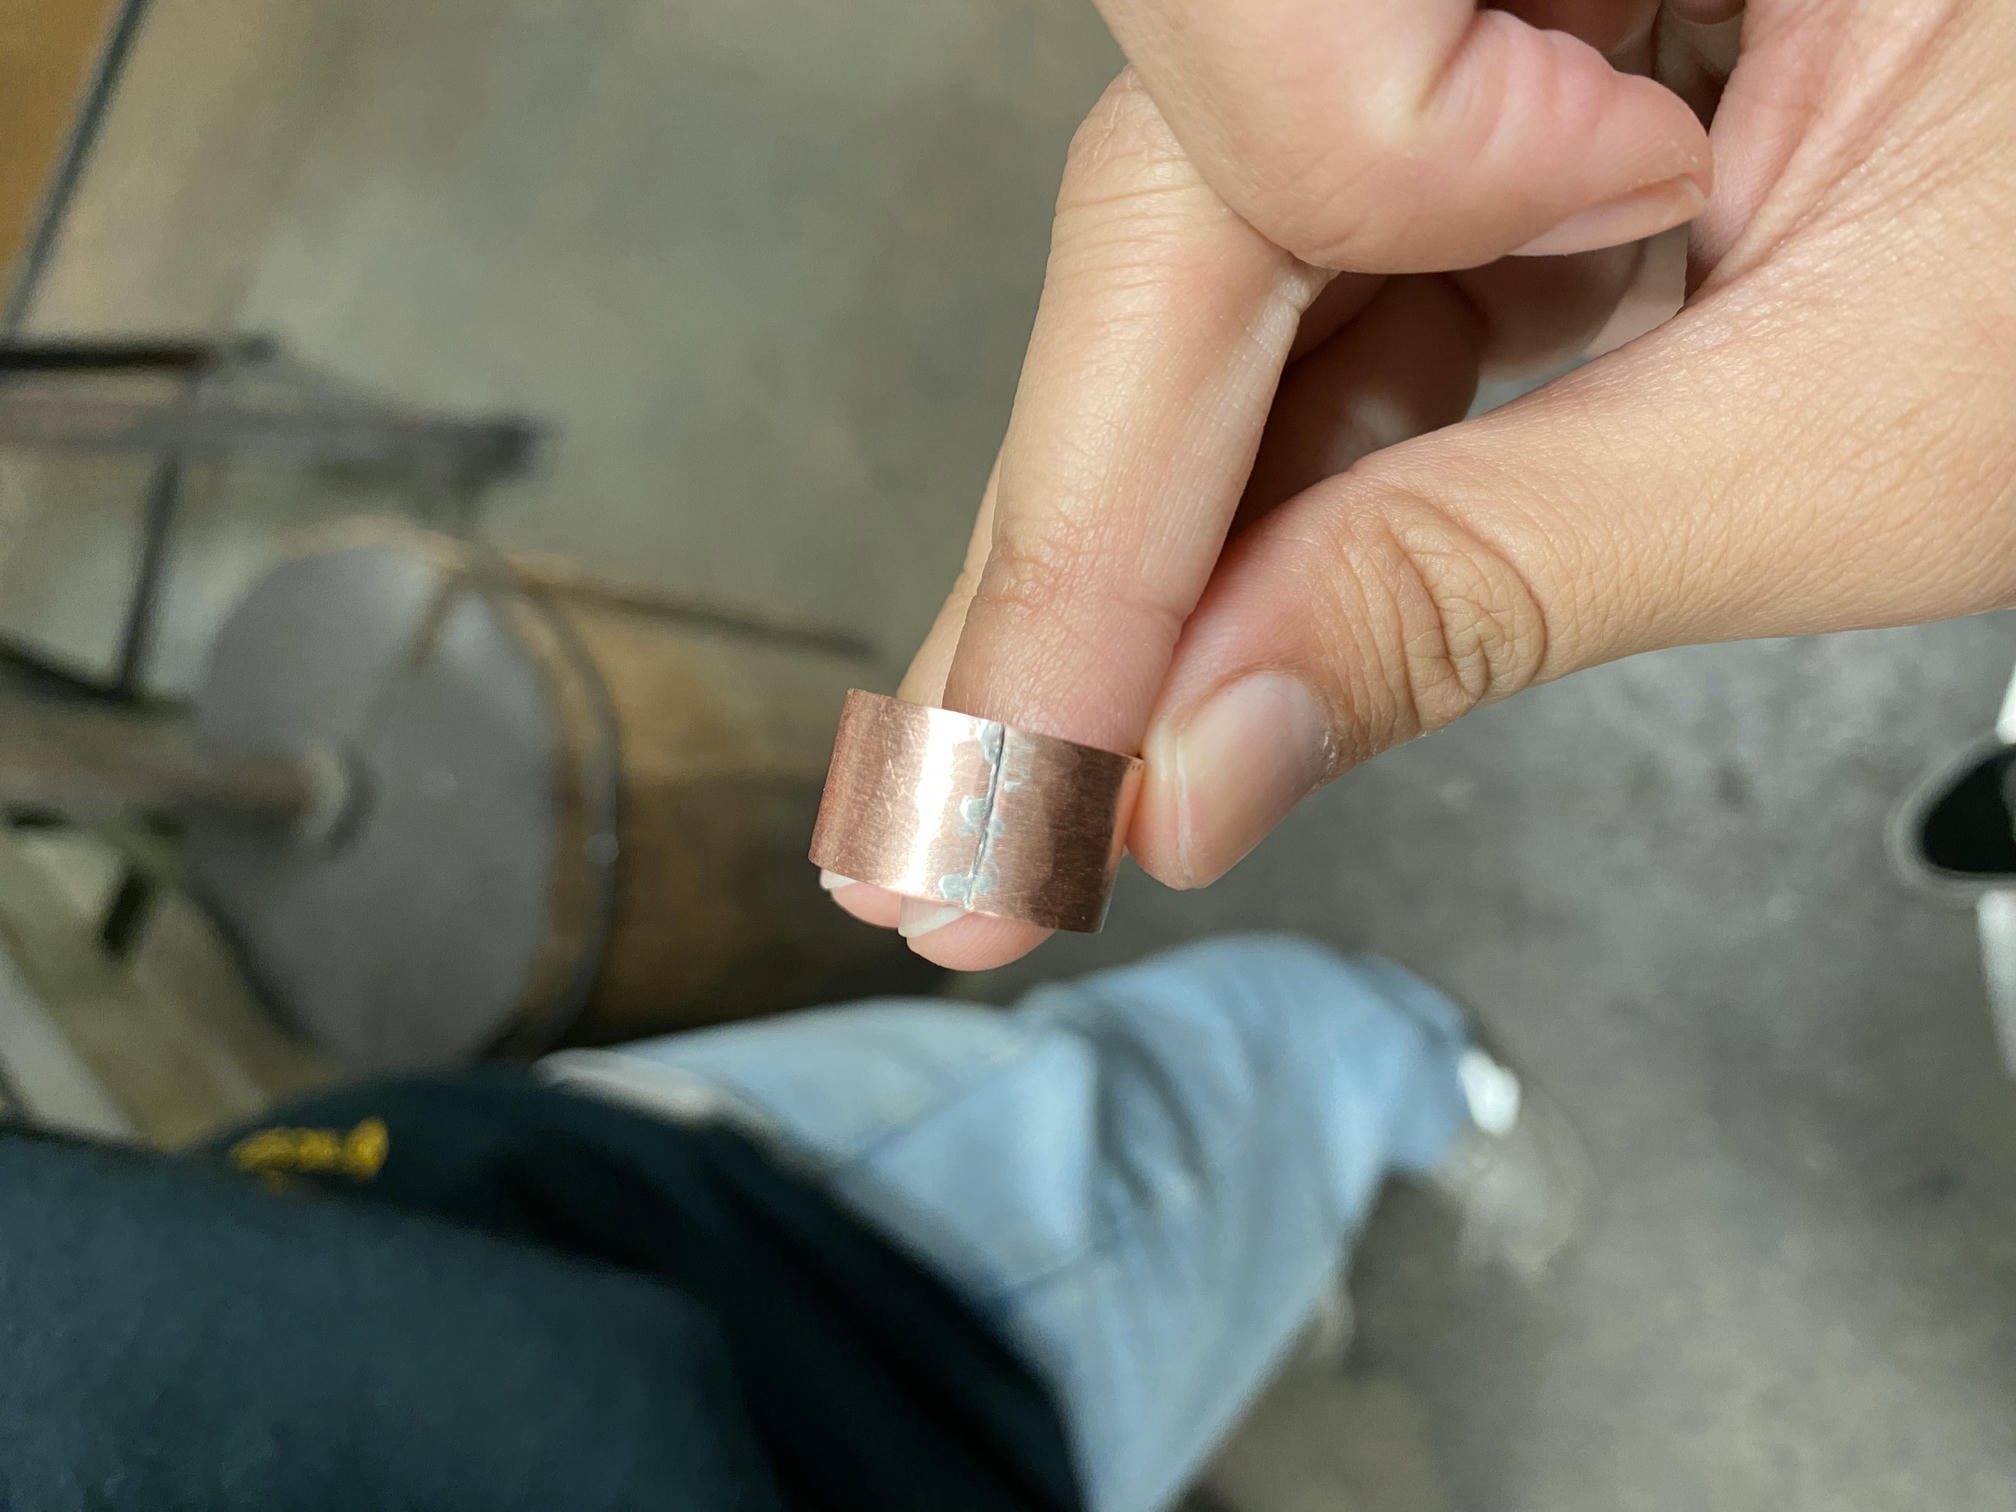
Finally, it was time to solder! I first cut pieces of silver into little pallets and applied flux to the seam of the piece to help the solder flow in. I then used tweezers or a pick to place the silver pallets along the seam. After preheating my piece, it eventually got hot enough for the solder to flow, joining the two edges together. This type of joint where the edges are right next to each other is called a butt joint.
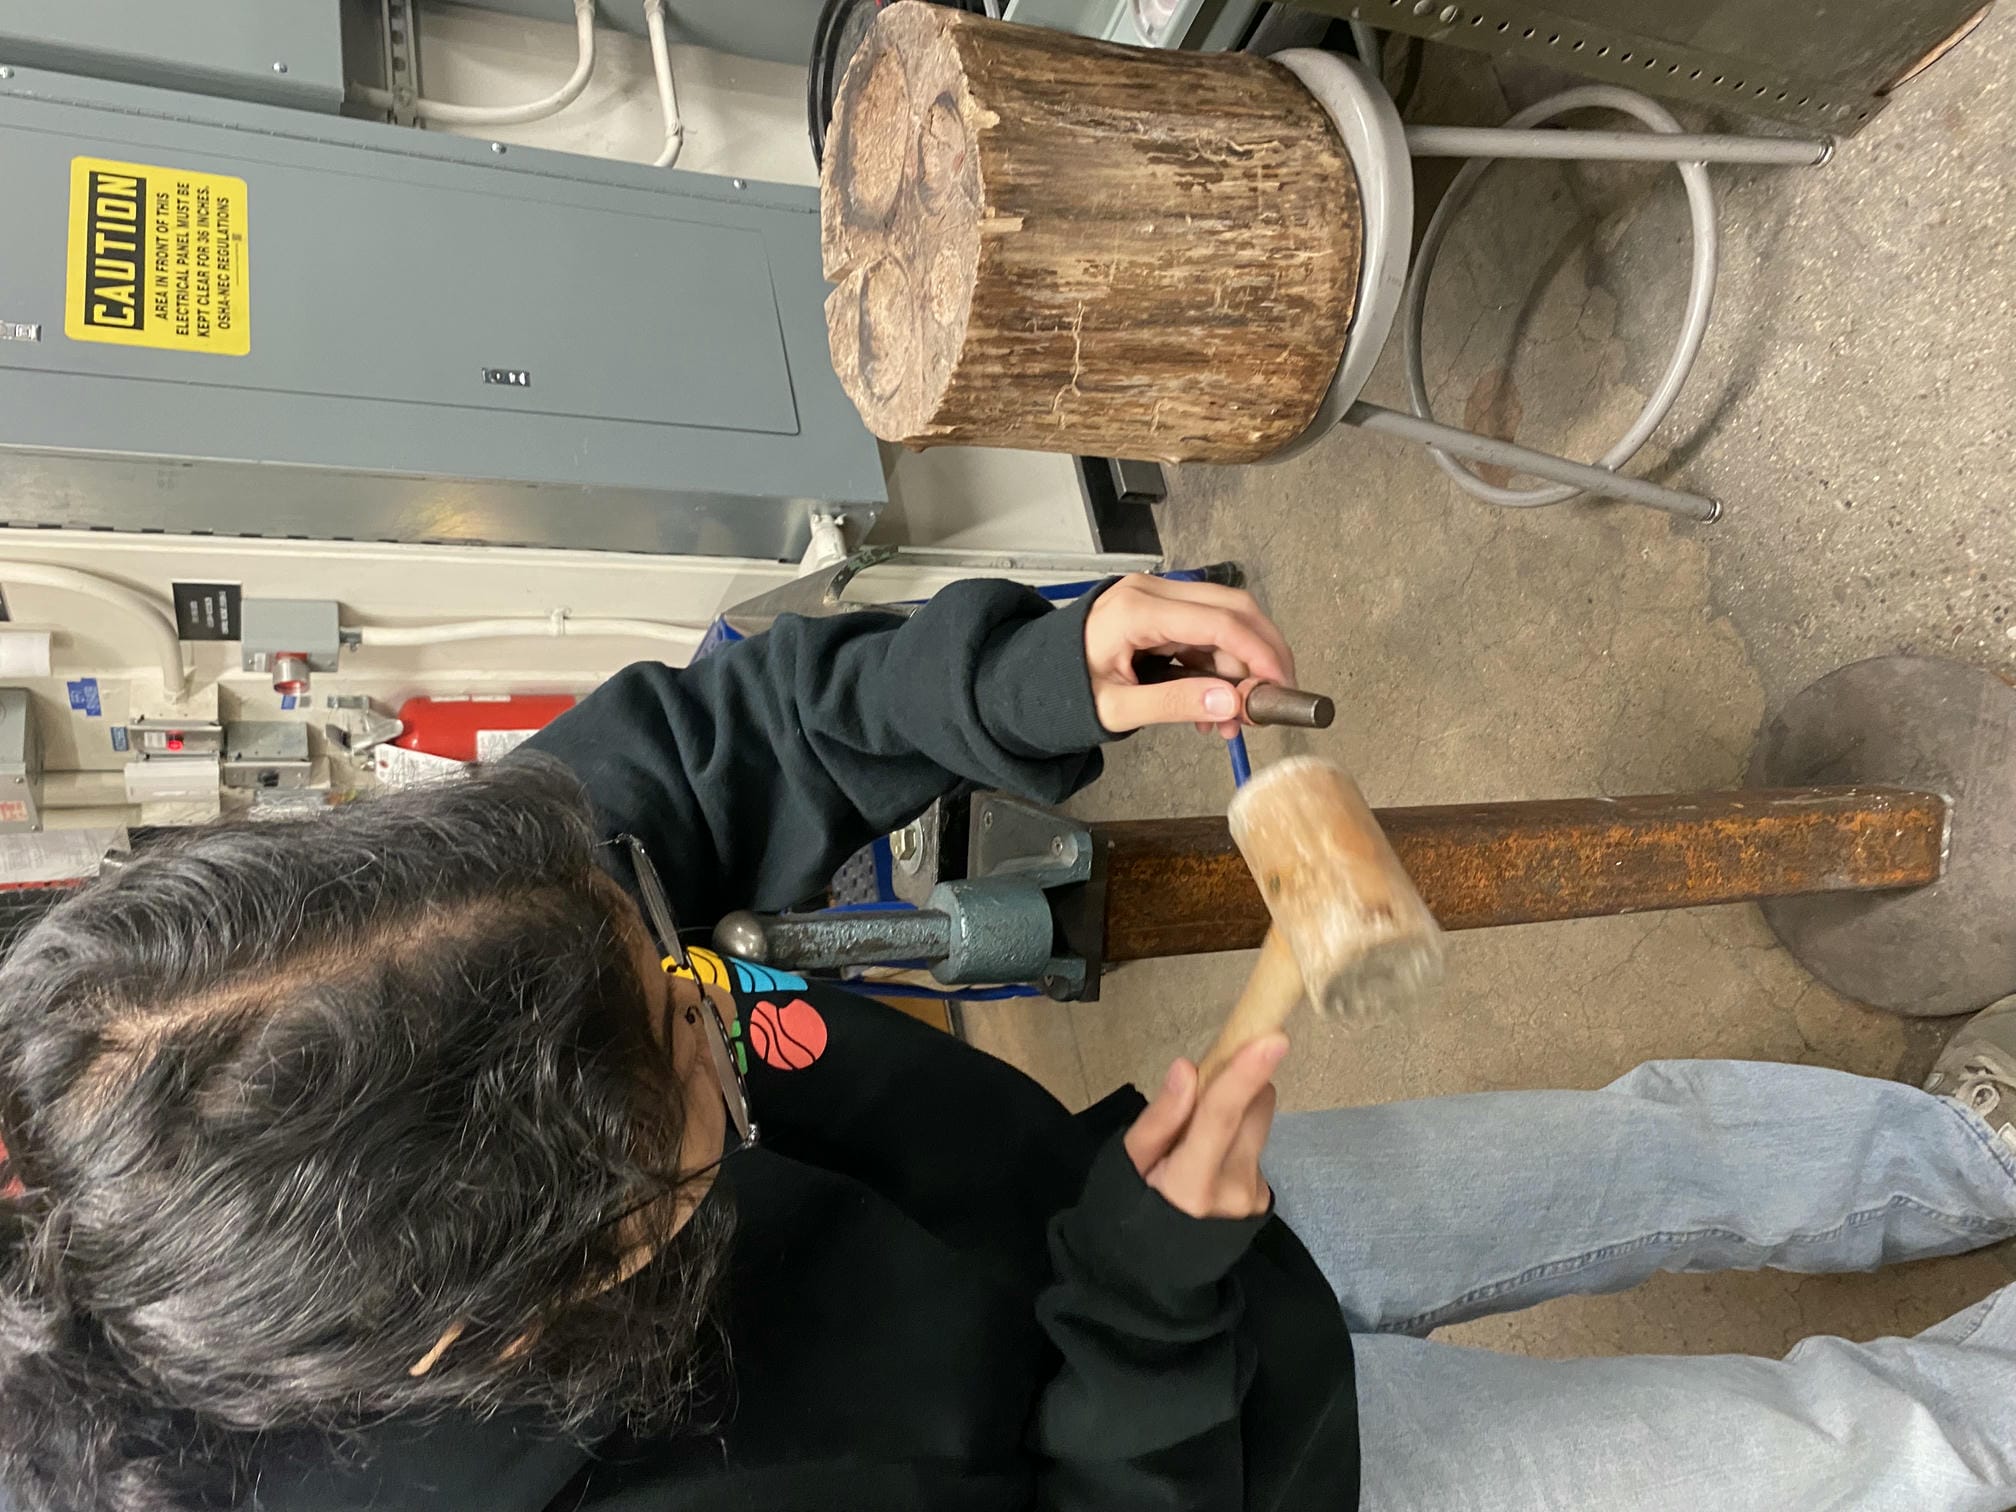
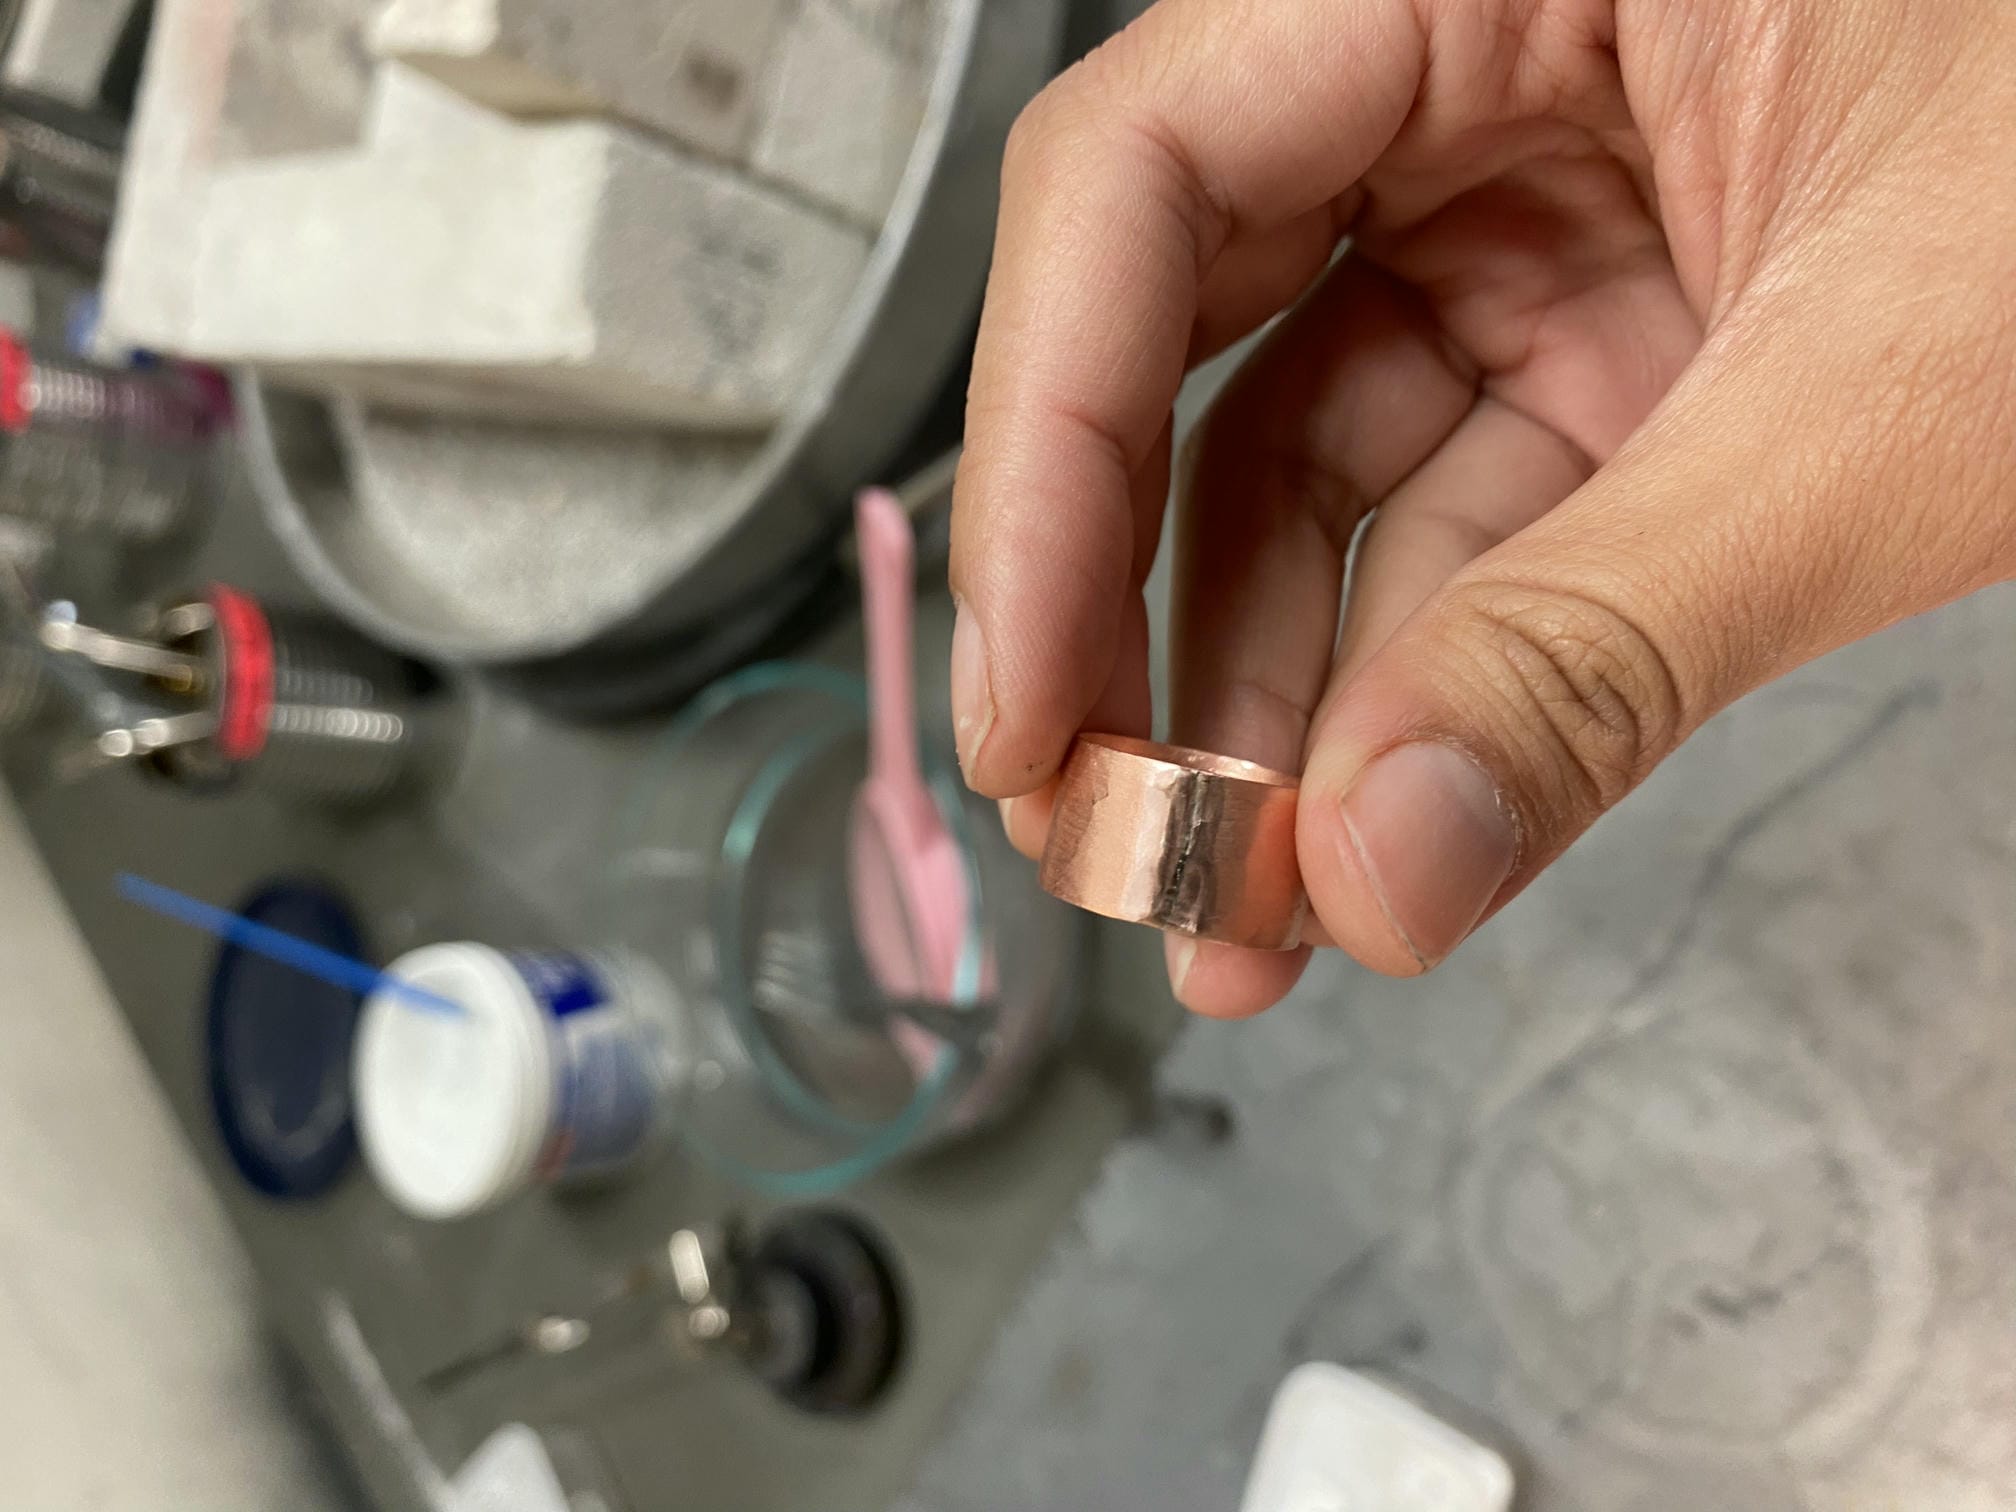
After re-pickling and cleaning the piece, I used a rawhide mallet to hammer the oval into a circular ring shape around a mandril. Afterward, I decided to clean off the excess silver solder with a dremel. The silver seam was still visible, but that's more or less inevitable in soldered materials. I could've copper-plated it, but I decided I liked the handmade look.
Here is what the final product looked like!
Ring box
From there, I decided to make a small copper box to hold the rings. This required me to learn a new type of soldering joint called a tee joint since the base of the box is perpendicular to the walls. I began by hammering a pattern into the walls of the box and soldering two rings. I intentionally made the top ring smaller since I wanted it to be relatively easy to release from the base. The trickiest part of this was getting them to fit inside one another since the rings stretch out radially as you hammer, so it's difficult to gauge if you have the sizing correct. Also, it's very challenging to get them both perfectly circular, since small deformations can prevent the lid from meshing with the bottom.
Once I finished the rings, I cut a piece of sheet metal for the tops and bottoms, creating an octagon. The reason I did an octagon instead of a simple square was to prevent the corners from acting as a heat sink. For the top lid, I stamped "AUDS & JESS" (my girlfriend and my nicknames) on the sheet metal as decoration. This project required me to make use of different hardnesses of solder. When you're soldering the ring to the base, you don't want the solder holding the ring together to reflow because it'll cause the ring to come undone. To prevent this, we use different types of solder which have different melting points. I used hard solder for the ring, medium solder for the base, and easy solder for the handle.
After soldering the base plates onto the rings, I had two cylinders with open tops. I then used a jeweler's saw to cut the excess metal off and then filed and belt sanded it so it was flush with the walls. Now that both the top and bottom of the box were done, I needed to add a handle to the top so that you could remove it easily. To do this, I first snipped off a piece of copper wire, then filed each edge flat so that it would be flush with the top of the box. After cleaning both the wire and top thoroughly, I tack-soldered the loop of wire to the top using easy solder.
I then used a dremel to clean off any excess solder both on the lid but also on any of the seams on the box itself. I used steel wool to clean off all the faces, then applied patina (a chemical that interacts with the metal and oxidizes it black) to darken the patterns and letters.
When complete, the box looked like this!
Etching and printing
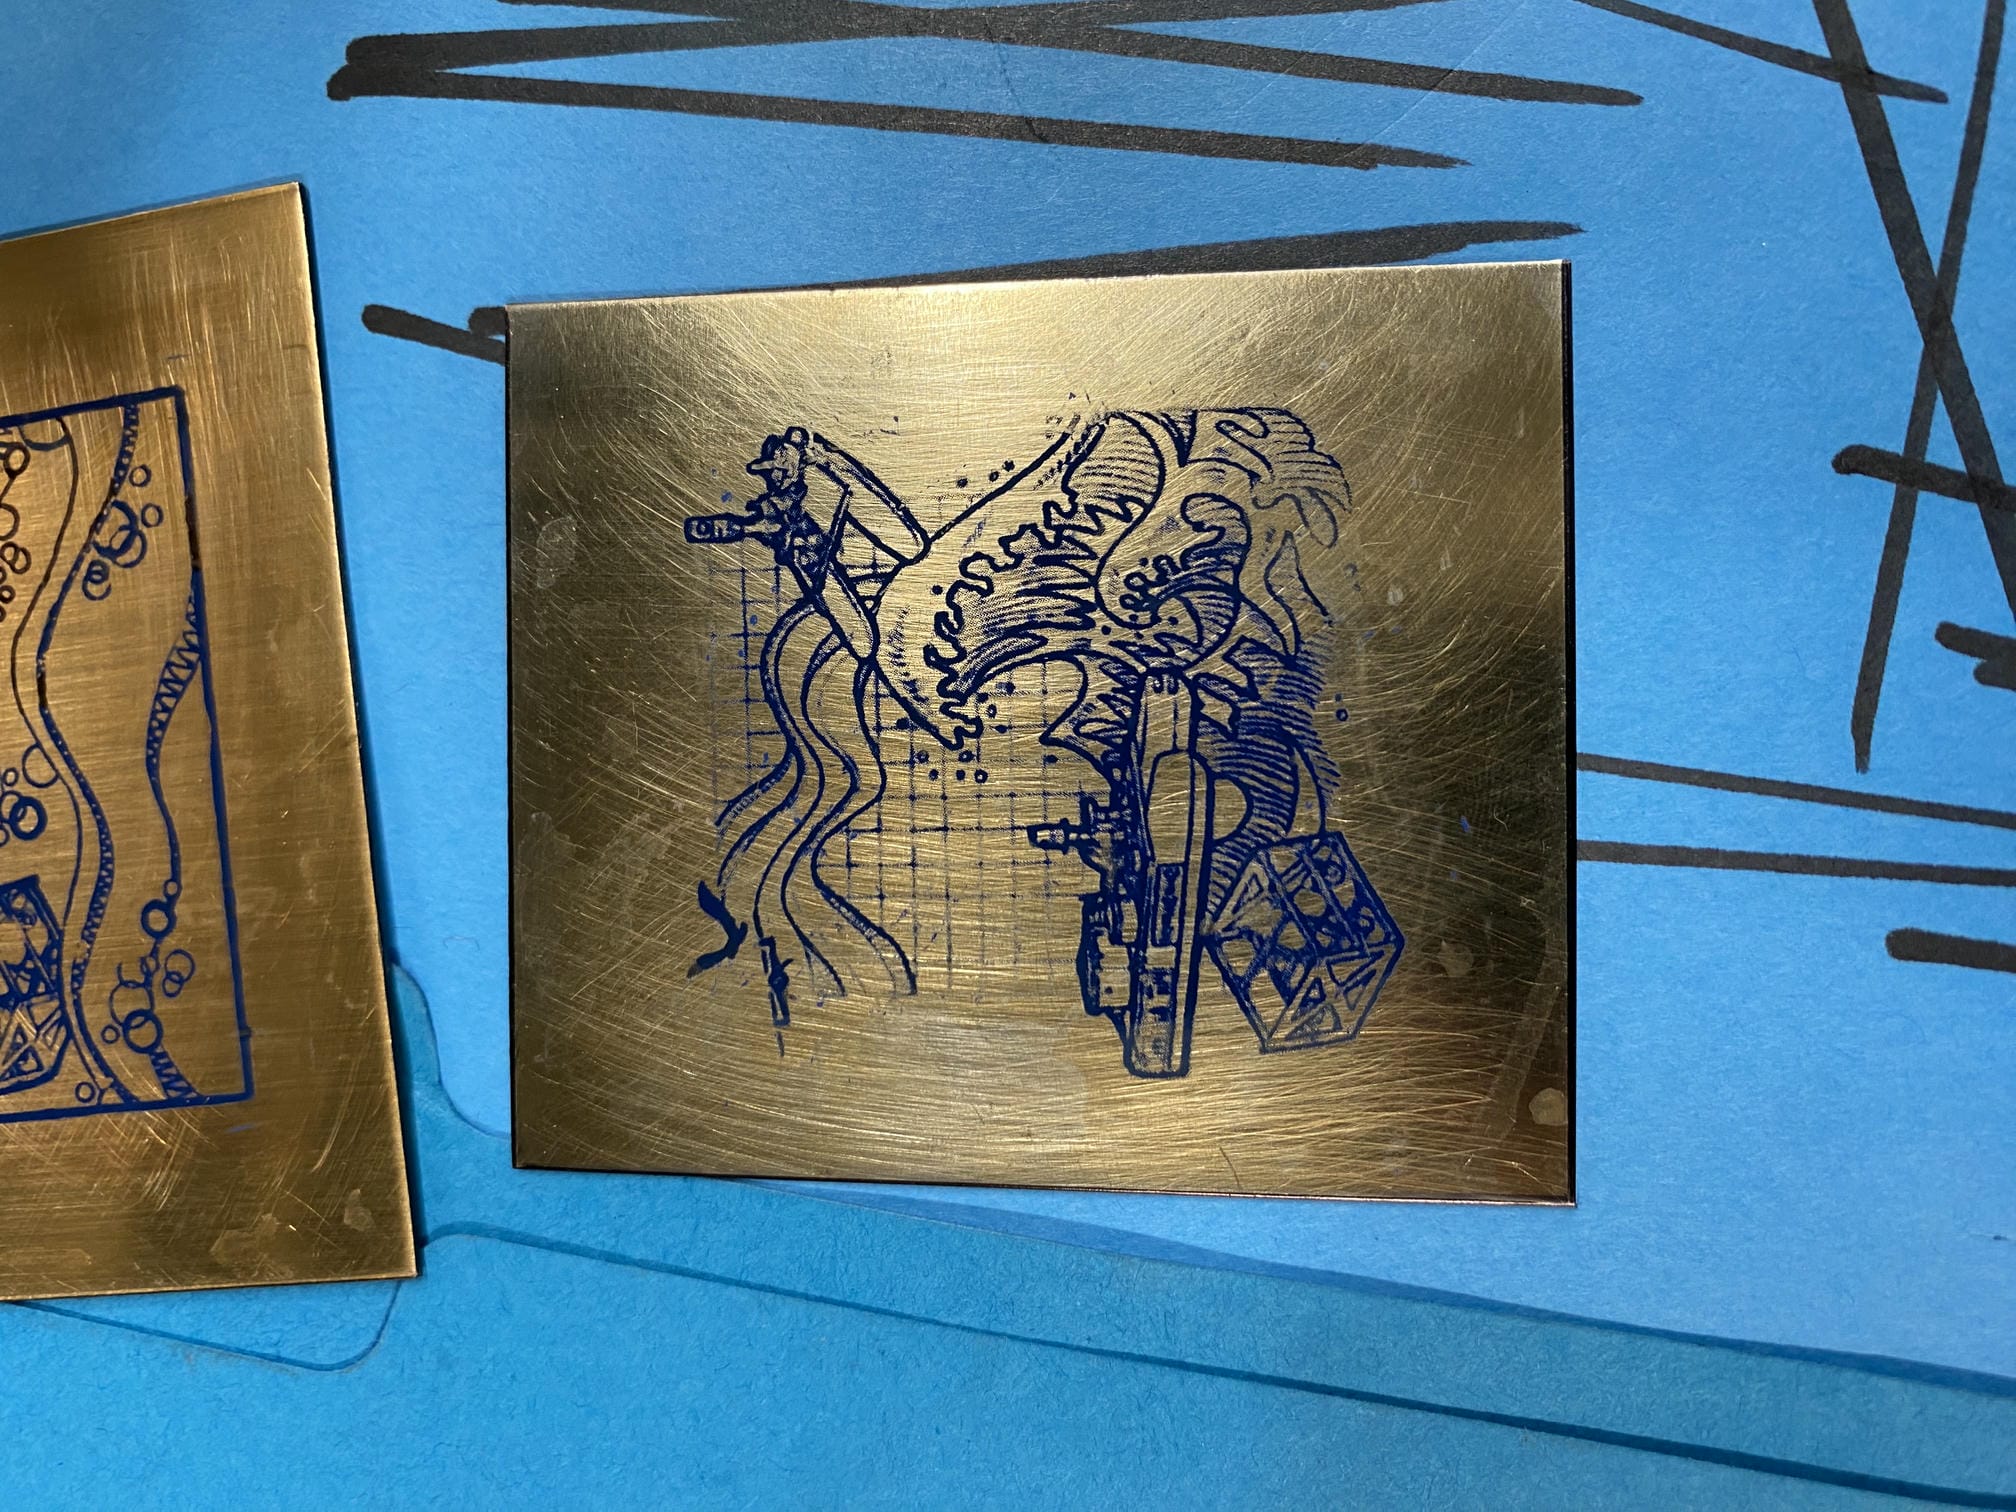
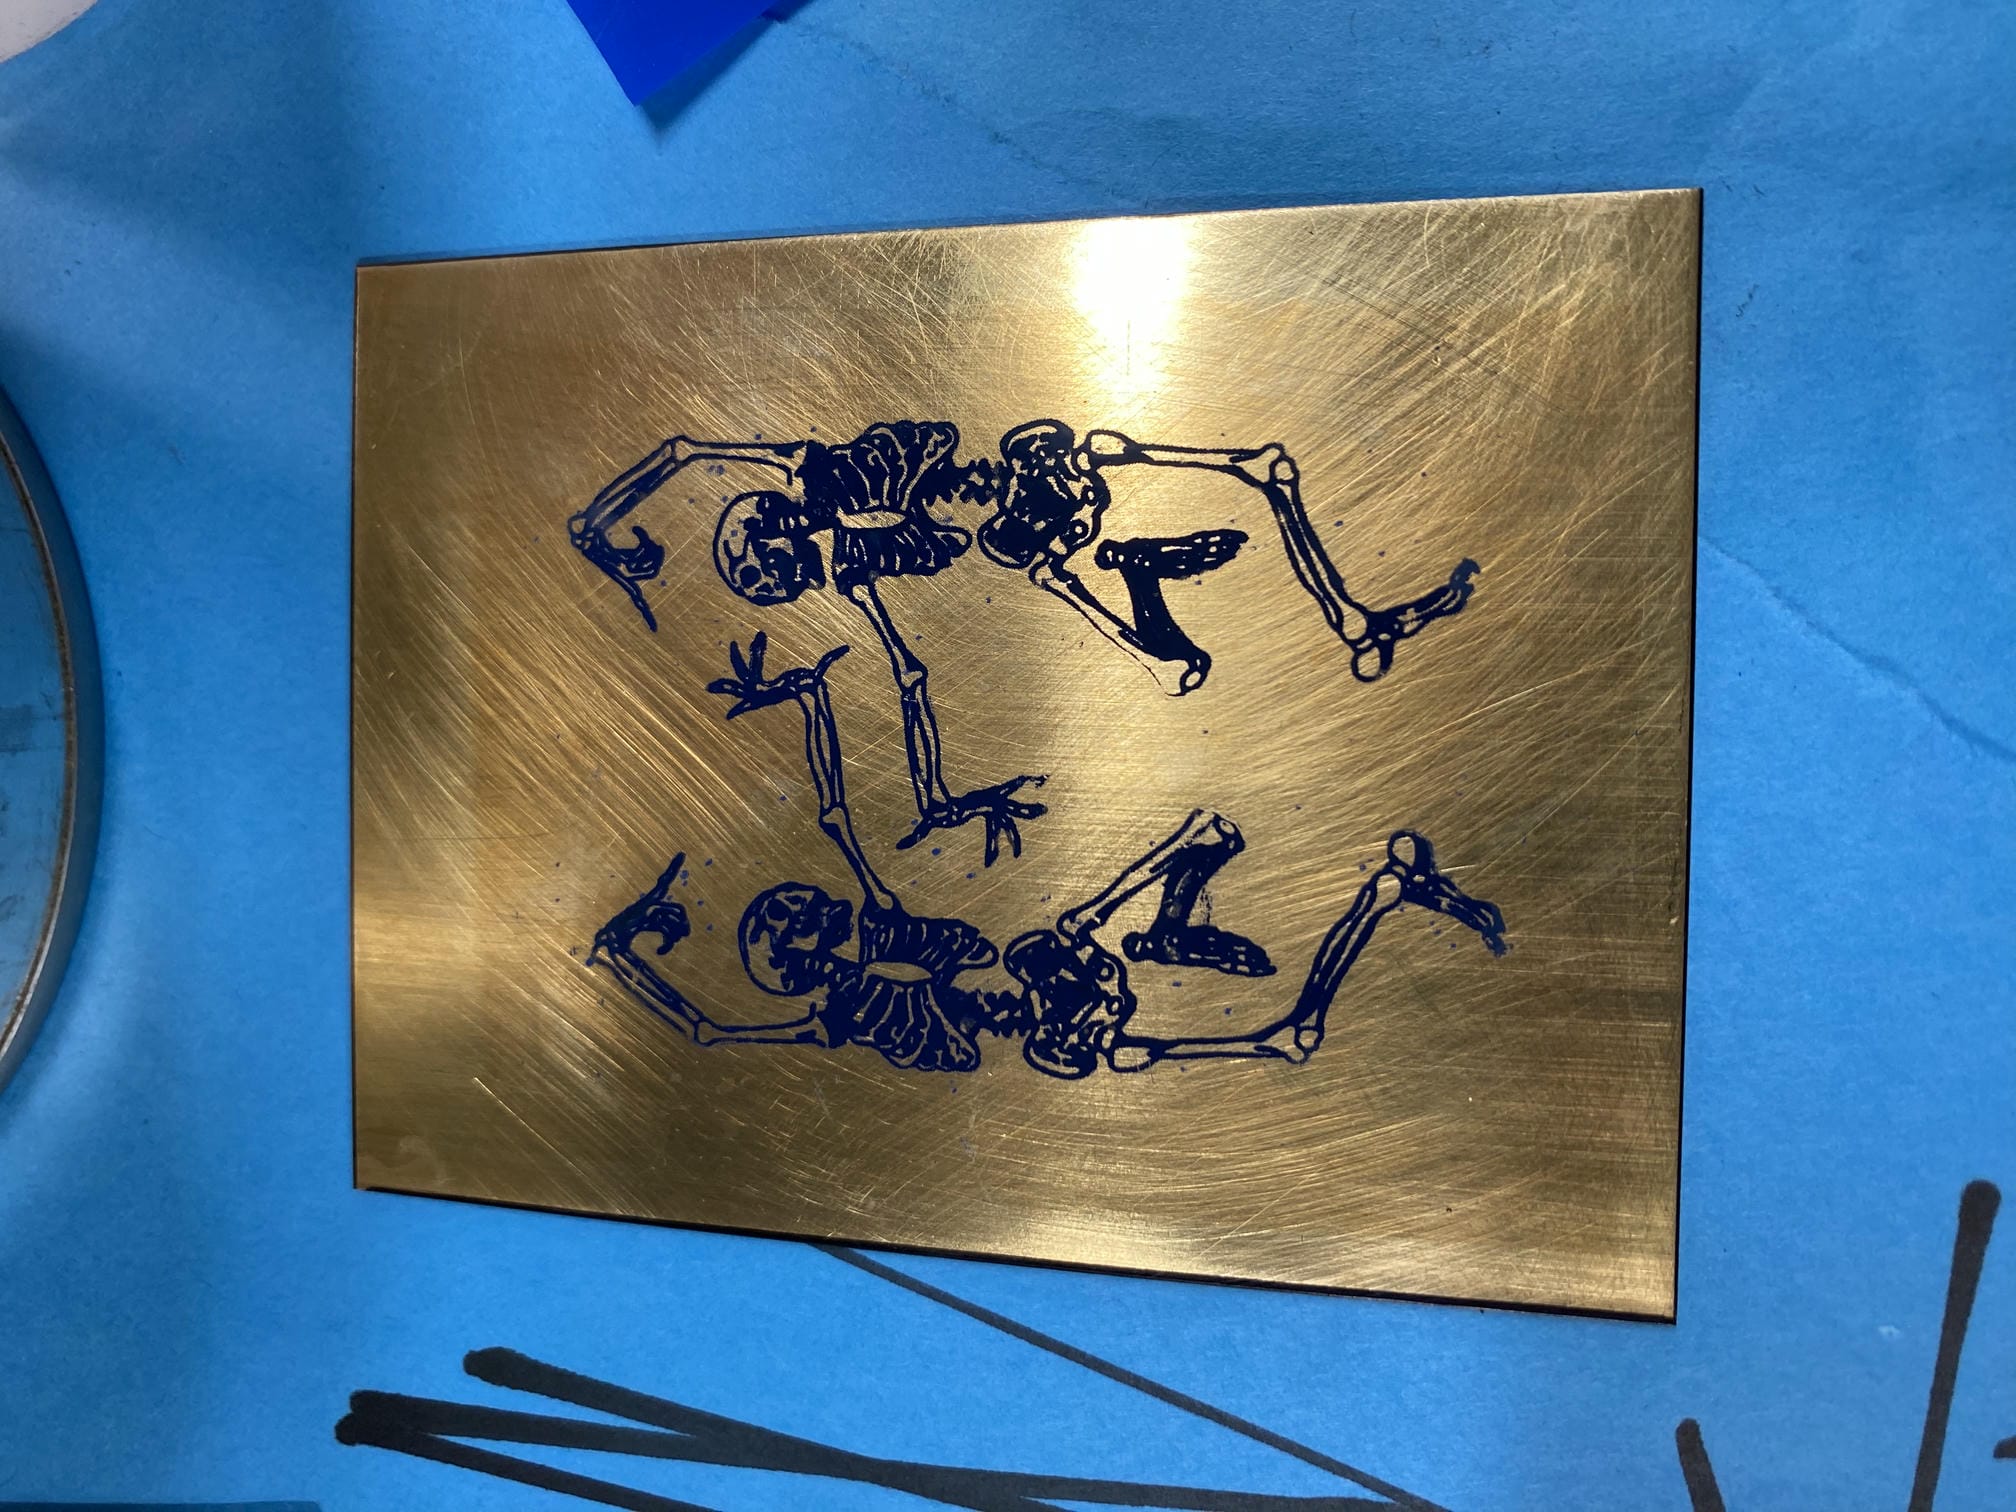
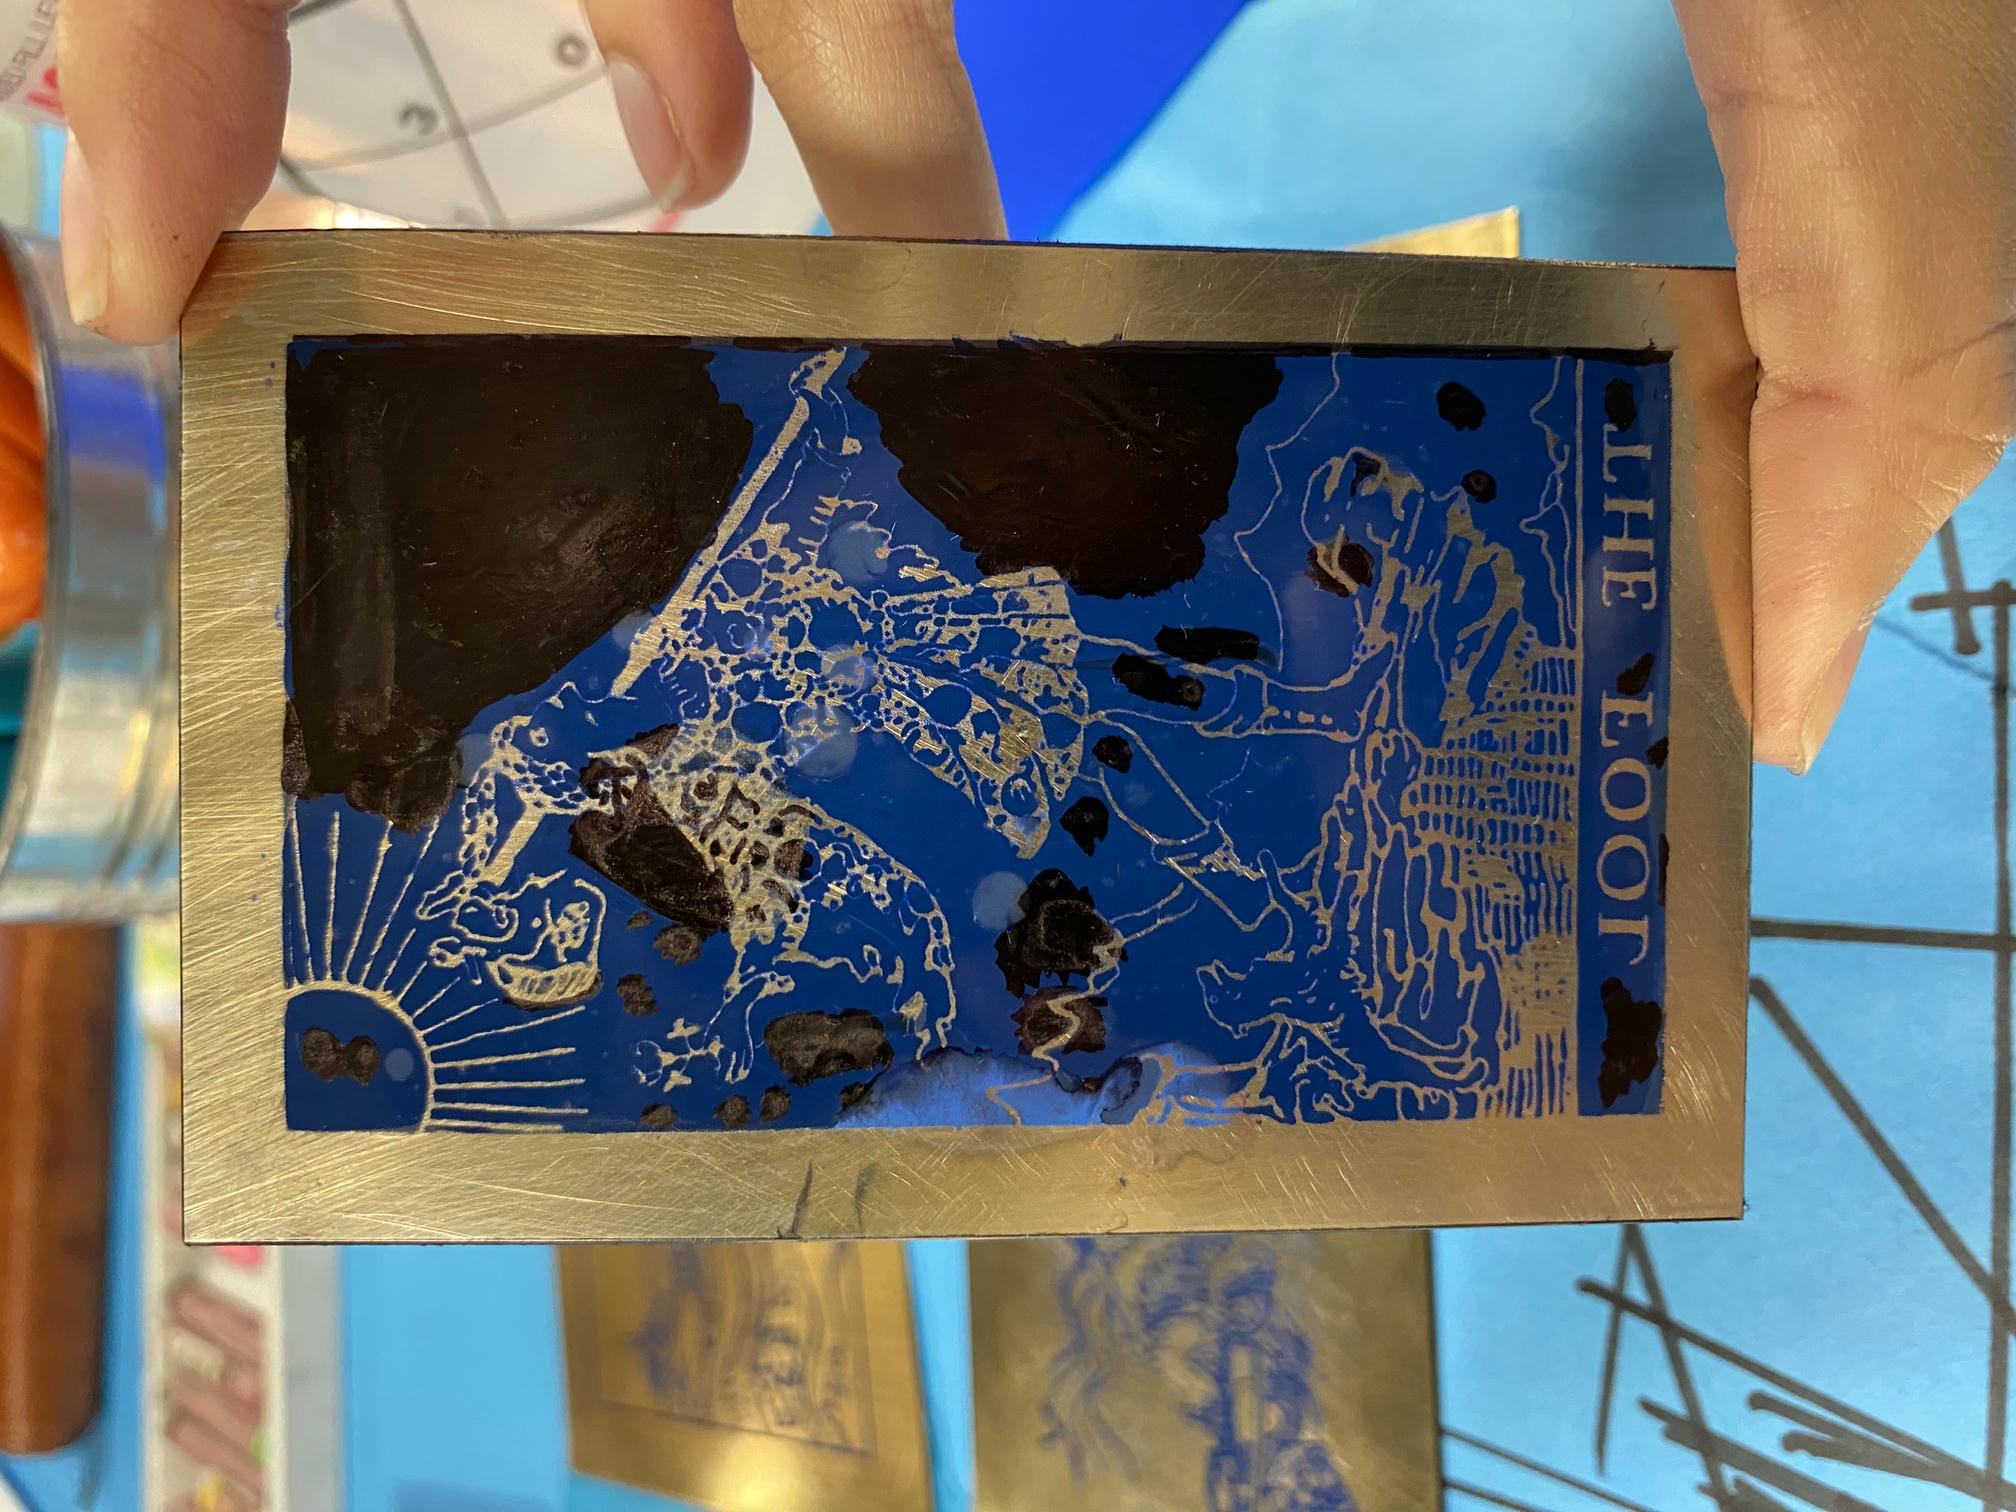
This project taught me metal etching and print pressing. I first looked up and created some designs digitally on Illustrator. Because I wanted to create prints with these etches, I created negatives since whatever is transferred onto the metal will be protected from the etching chemical, and thus end up as high points which then transfer ink to the paper.
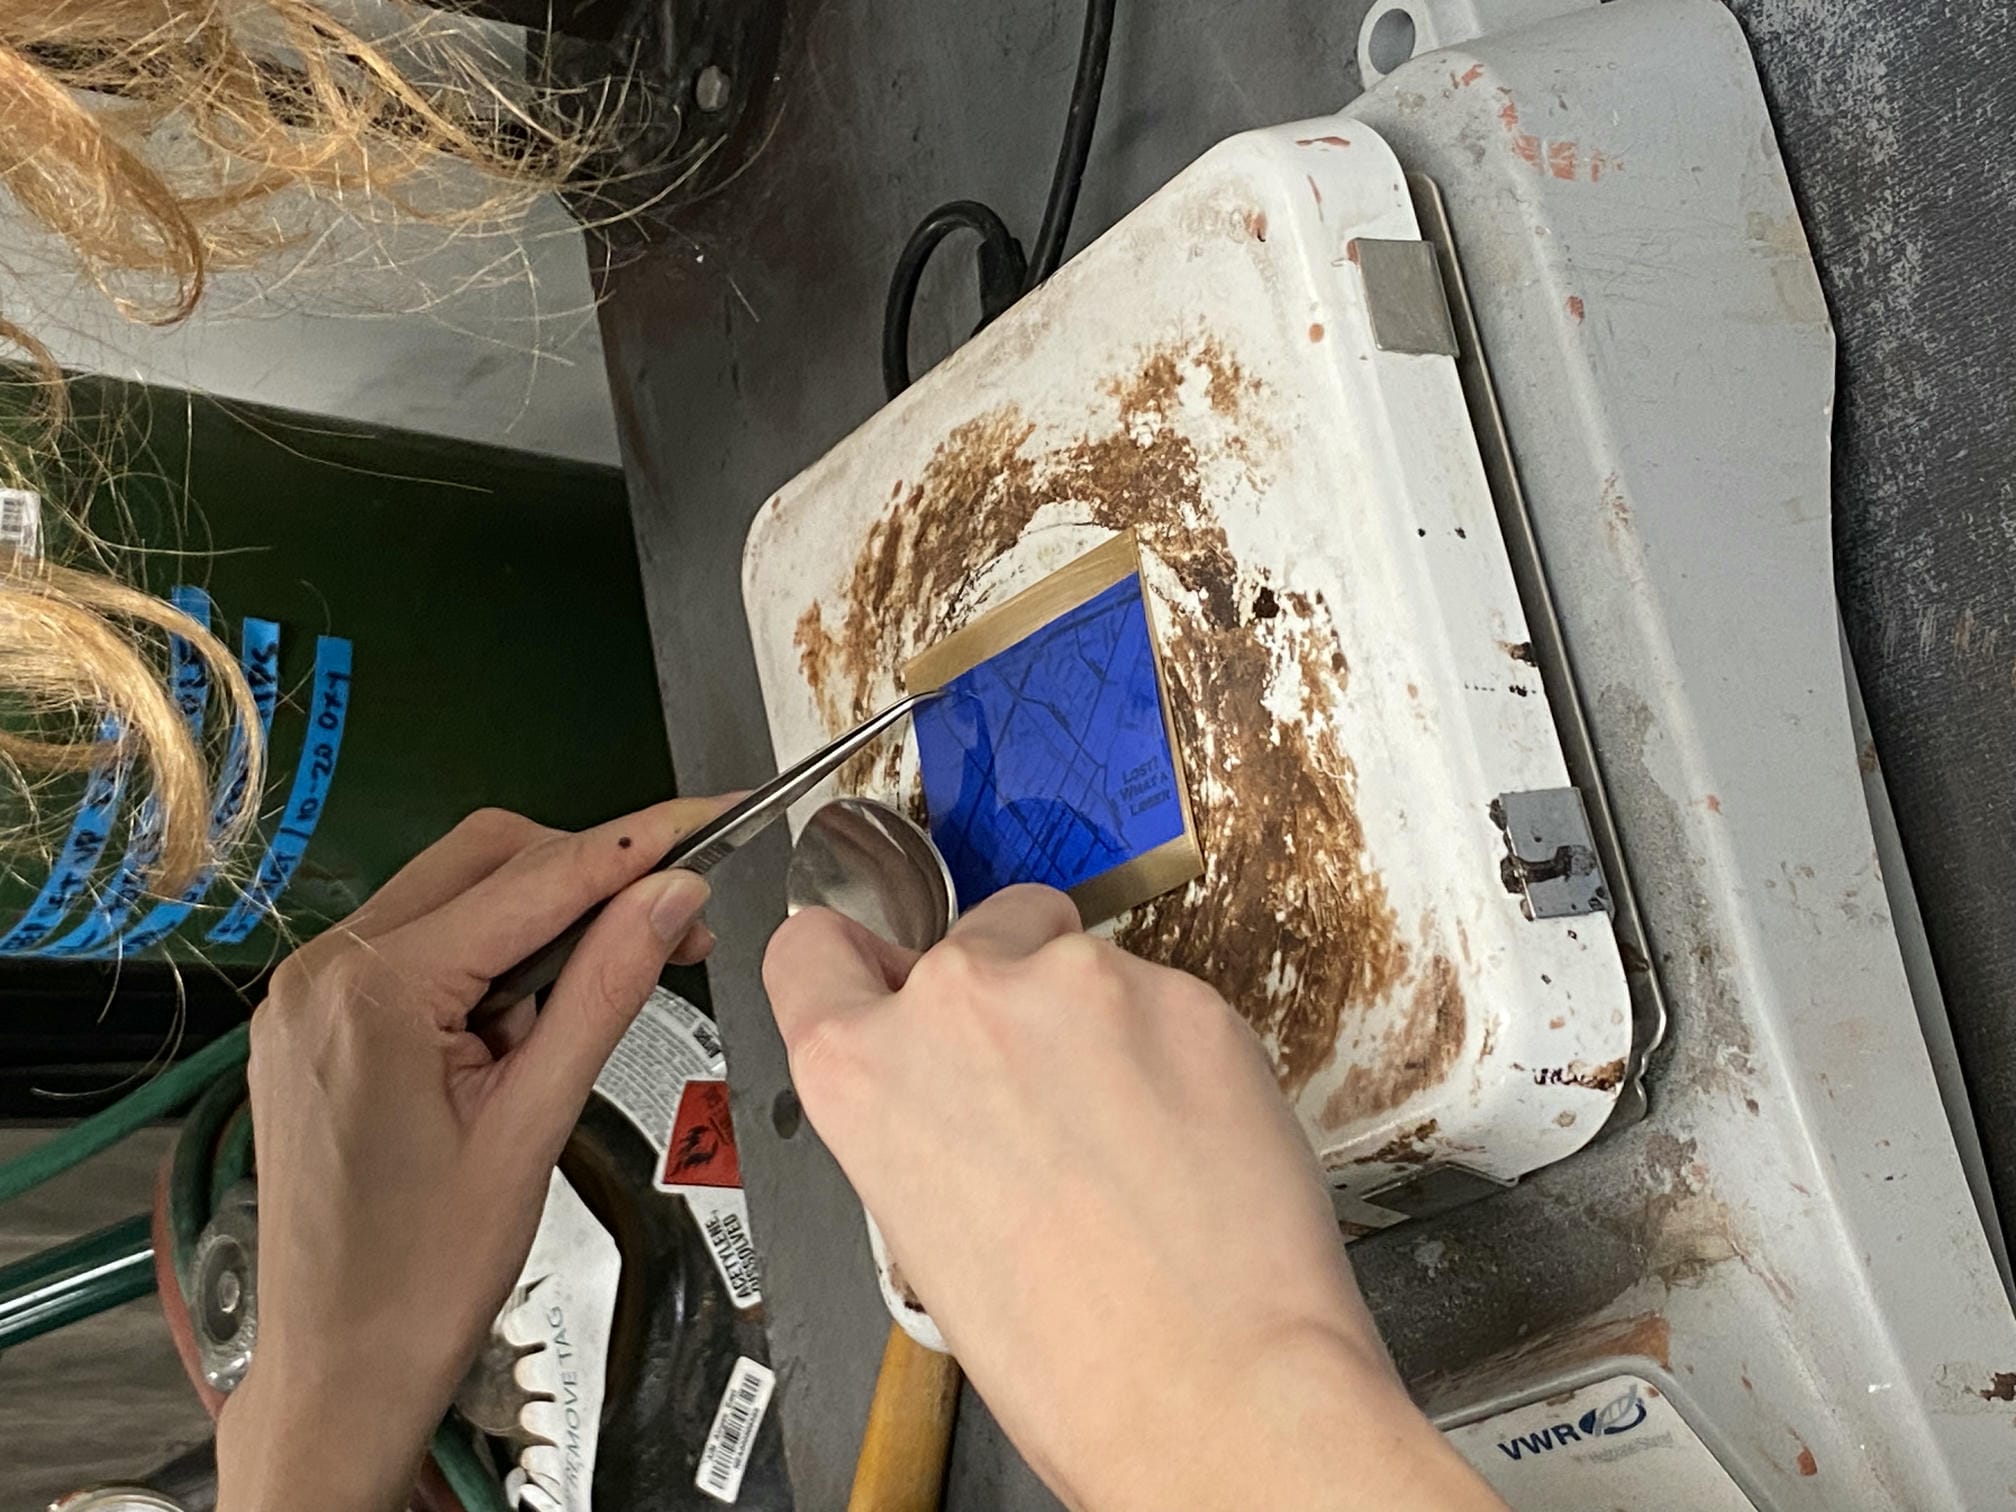
I printed my designs onto PNP transfer paper, then transferred the designs onto the metal using a hot plate. When the metal gets hot, it melts the PNP paper onto it and transfers the design over. This was the trickiest step since you need to carefully burnish the pattern with a spoon without smudging it. If I messed it up, I would just fix it with Sharpie.
Once this was done, I covered the back of the metal with tape to protect it from the etching chemical and taped on wires to hold it in place in the plastic tub. We filled the tub with etching chemicals, which would eat away the exposed bits of metal (aka all the parts that are taped over or not covered by the PNP paper transfer).
I needed to agitate the solution several times over the next two hours, after which they could be washed off and the tape removed.
After the pieces had been successfully etched, we could finally print. We used cotton paper and pre-soaked them in water prior to printing. I applied ink to the faces of the etching, careful to only apply it to the raised bits.
I then ran it through the printer press, which is two sets of rollers that compress the paper to the metal, ink-side down. Changing the pressure of the press had interesting effects, and by its nature, no two prints would be identical.
Here are how the final prints turned out!
Metal turtle
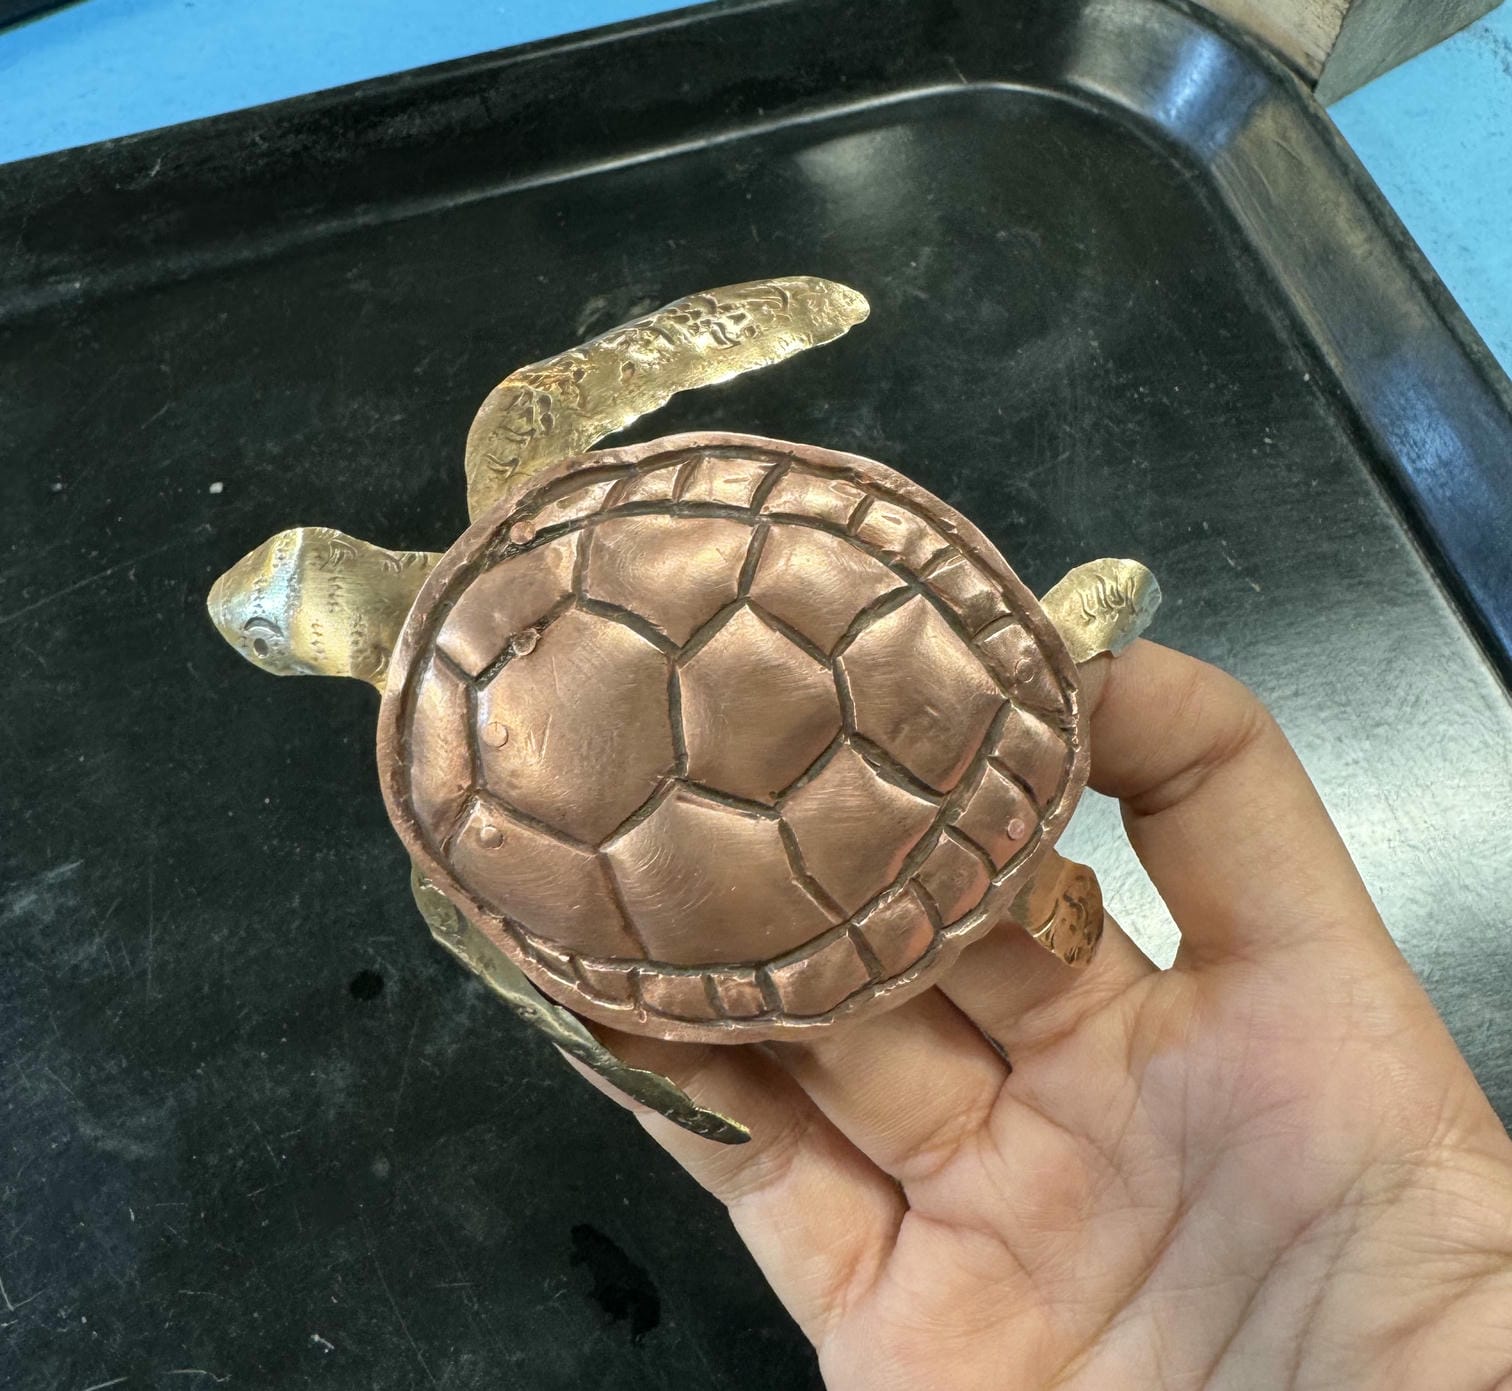
My final project was a metal turtle. This project taught me how to chase and repoussé. This technique involves placing sheet metal into pitch, then using a hammer and steel chisels to push the metal into shape. I first blacksmithed my own chasing tools in different shapes and thicknesses to help me fit the contours I desired. (For more on my blacksmithing projects, see this page.) Then I poofed my copper sheet metal out by hammering it into a bowl shape burned into a stump, then pasted a printout of the turtle shell onto the back using rubber cement.
From there, I took my bowl-shaped sheet and embedded it into a bowl of pitch which I had melted with a heat gun. You only want the pitch to stick in the corners to hold it in place, but not all over the back because it's a pain to remove, so I applied mineral oil to the back to keep the pitch from sticking onto most of the back. From there, I took my chasing hammer (which is a different type of hammer, designed to be springy and strain your wrist less) and carefully chiseled into the metal following the template. After a while chasing, the metal would become work-hardened, which means it's less malleable and needs to be annealed. I then would reheat the pitch with a heat gun again, and anneal the metal using the torch. Then I could place it back inside the pitch and continue hammering.
After I was happy with the shell shape, I cut it out with a jeweler's saw and sanded the edges, then patinaed and polished it.
To make the fins and head, I took brass sheet and cut it to shape using a jeweler's saw. I added texture using various stamps, then poofed the sheet out by hammering in the stump again so that it was more 3D. After shining and polishing, I applied patina to make the texture darker. I then drilled holes in the head, fins, and shell for the rivets.
Because I wanted the limbs to wiggle, I wanted to intentionally leave those rivets loose. In contrast, I wanted the head to remain fixed, so I made those rivets tight and created two of them so that it couldn't rotate.
Because chasing and repoussé created high and low contours on the shell, it was impossible for the limbs and head to lay flat. To fix this, I found brass tubing that fit perfectly around the copper wire and cut out tiny cylinders to fill up the space between the shell and the limb/head. I could then rivet them on like normal.
Here is what the final turtle looked like.
.jpg)
.jpg)
.jpg)
.jpg)
.jpg)
.jpg)
.jpg)
.jpg)
.jpg)

.jpg)
.jpg)
.jpg)
.jpg)
.jpg)
.jpg)
.jpg)
.jpg)
.jpg)